KNOW-HOW & PROCESS
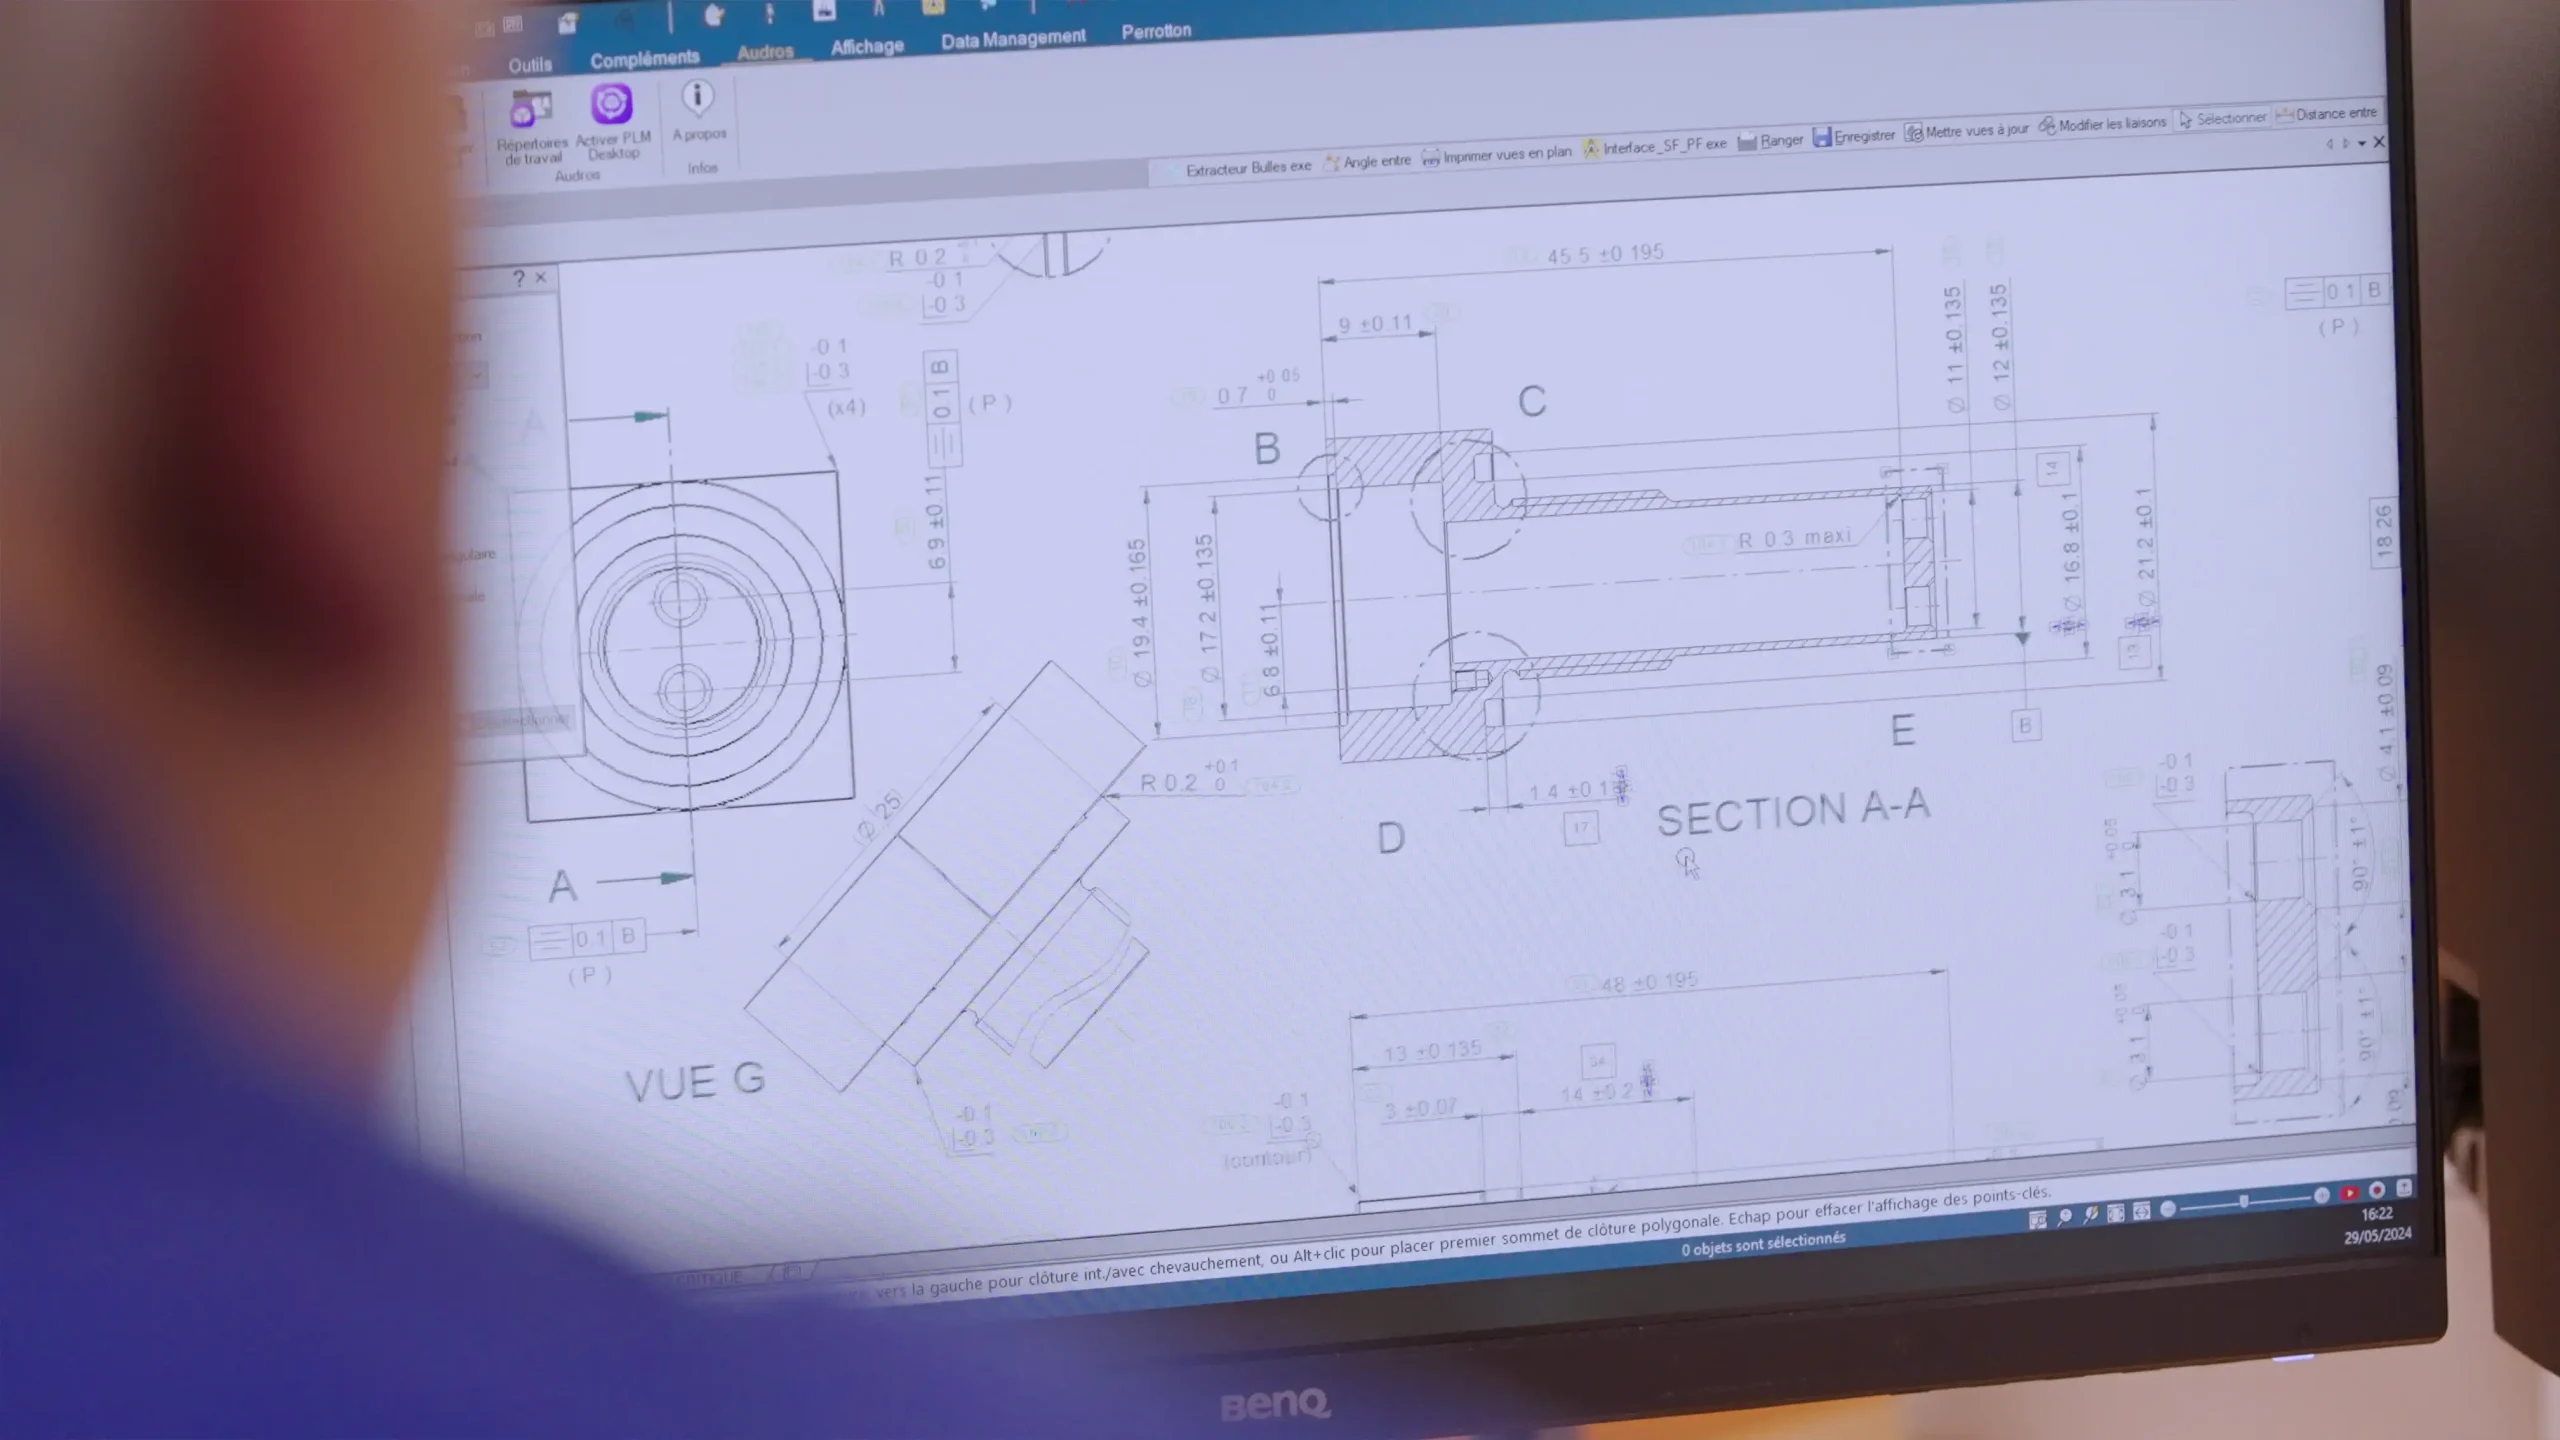
Before starting a project, the PERROTTON Group's Design Office and ourselves work closely with the sales department to define a creation process that is adapted to the client's directives and challenges. At DURANDARD, we place great importance on understanding and relevance to their request.
The Design Office analyzes the needs and works with the client to design solutions by determining the optimal manufacturing process for each part. It thus ensures the traceability of production by documenting and classifying all aspects of the protocol. If needed, we can bring all our expertise to improve each project.
Project reviews are regularly organized between the various participants from the Design Office, Quality, and Production. They are essential as they serve to evaluate the progress, performance, and viability of the different stages.
Once the parts are machined according to the specifications, they can undergo multiple additional operations such as heat treatment or surface treatment and superfinishing like grinding, honing, or polishing, in collaboration with subcontractors approved by our clients.
Throughout the manufacturing process of the parts and afterwards, they are checked to verify at each stage the conformity of dimensions, surface conditions, treatments undergone, material composition, hardness, tightness, and cleanliness of the parts. These checks are essential to guarantee impeccable quality (Group PERROTTON's zero-defect objective), safety, and performance of the final products as well as to meet the current international standards.
PRECISION MECHANICS EXPERT
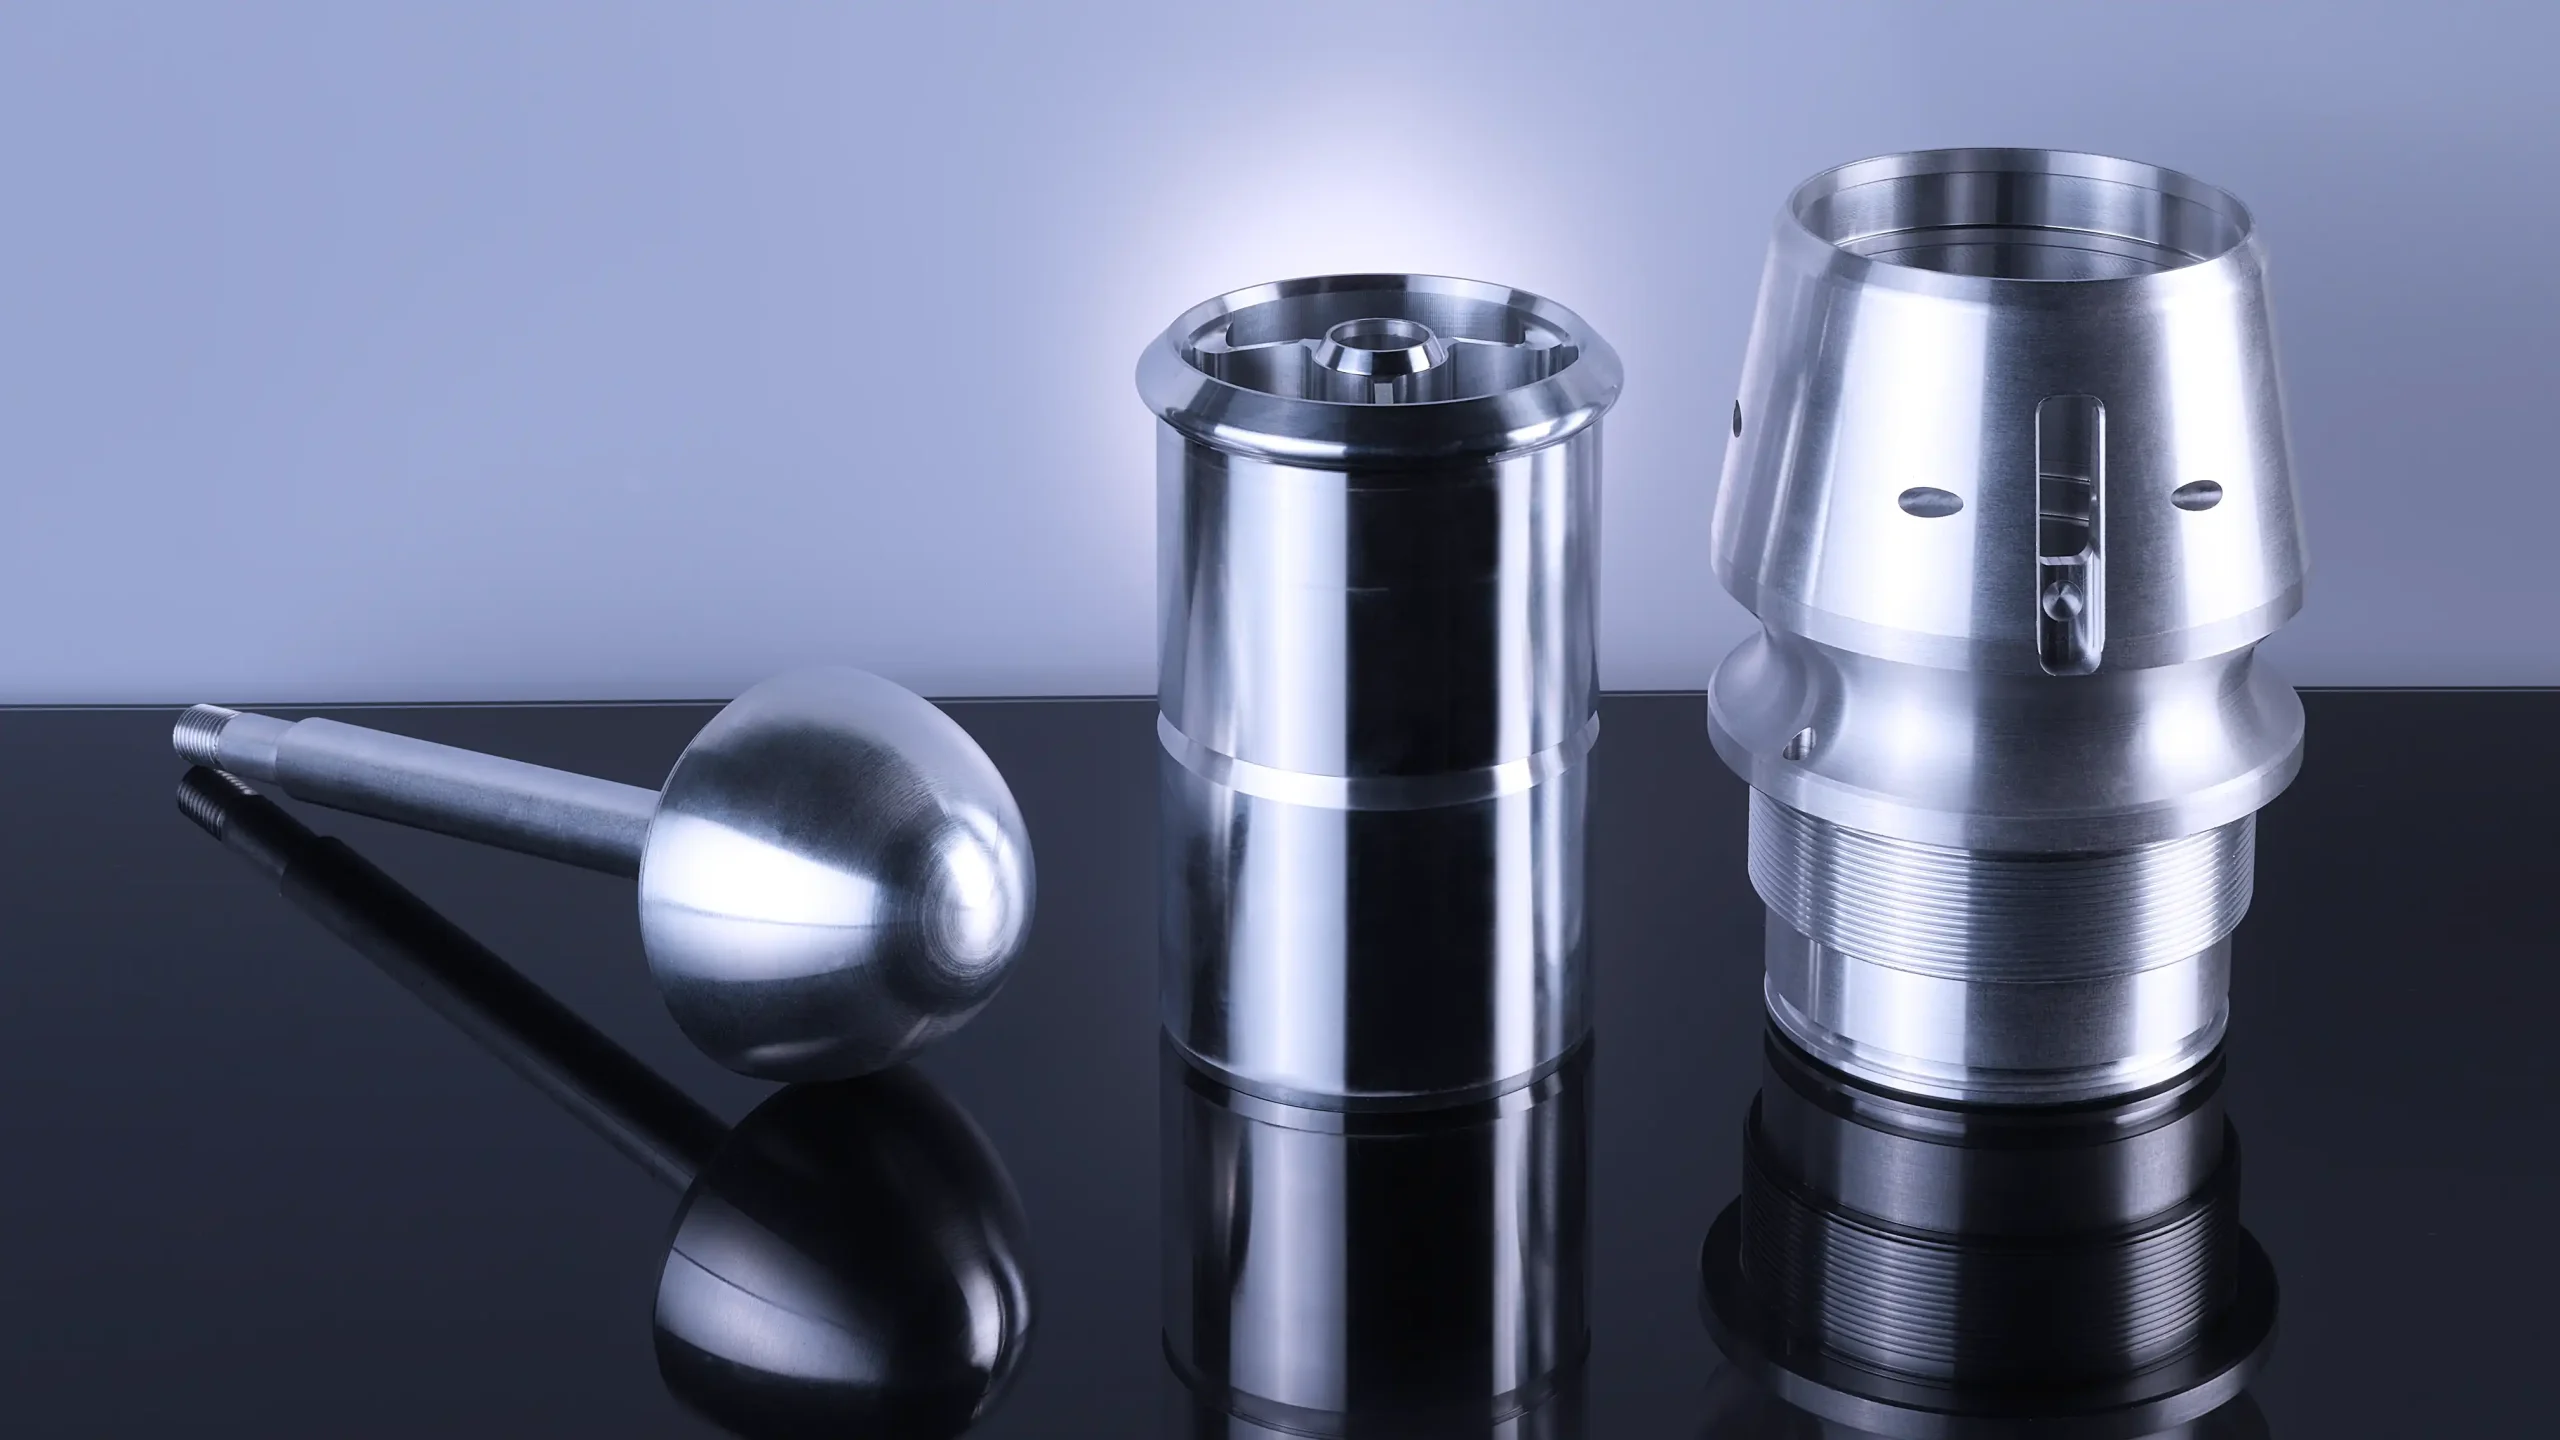
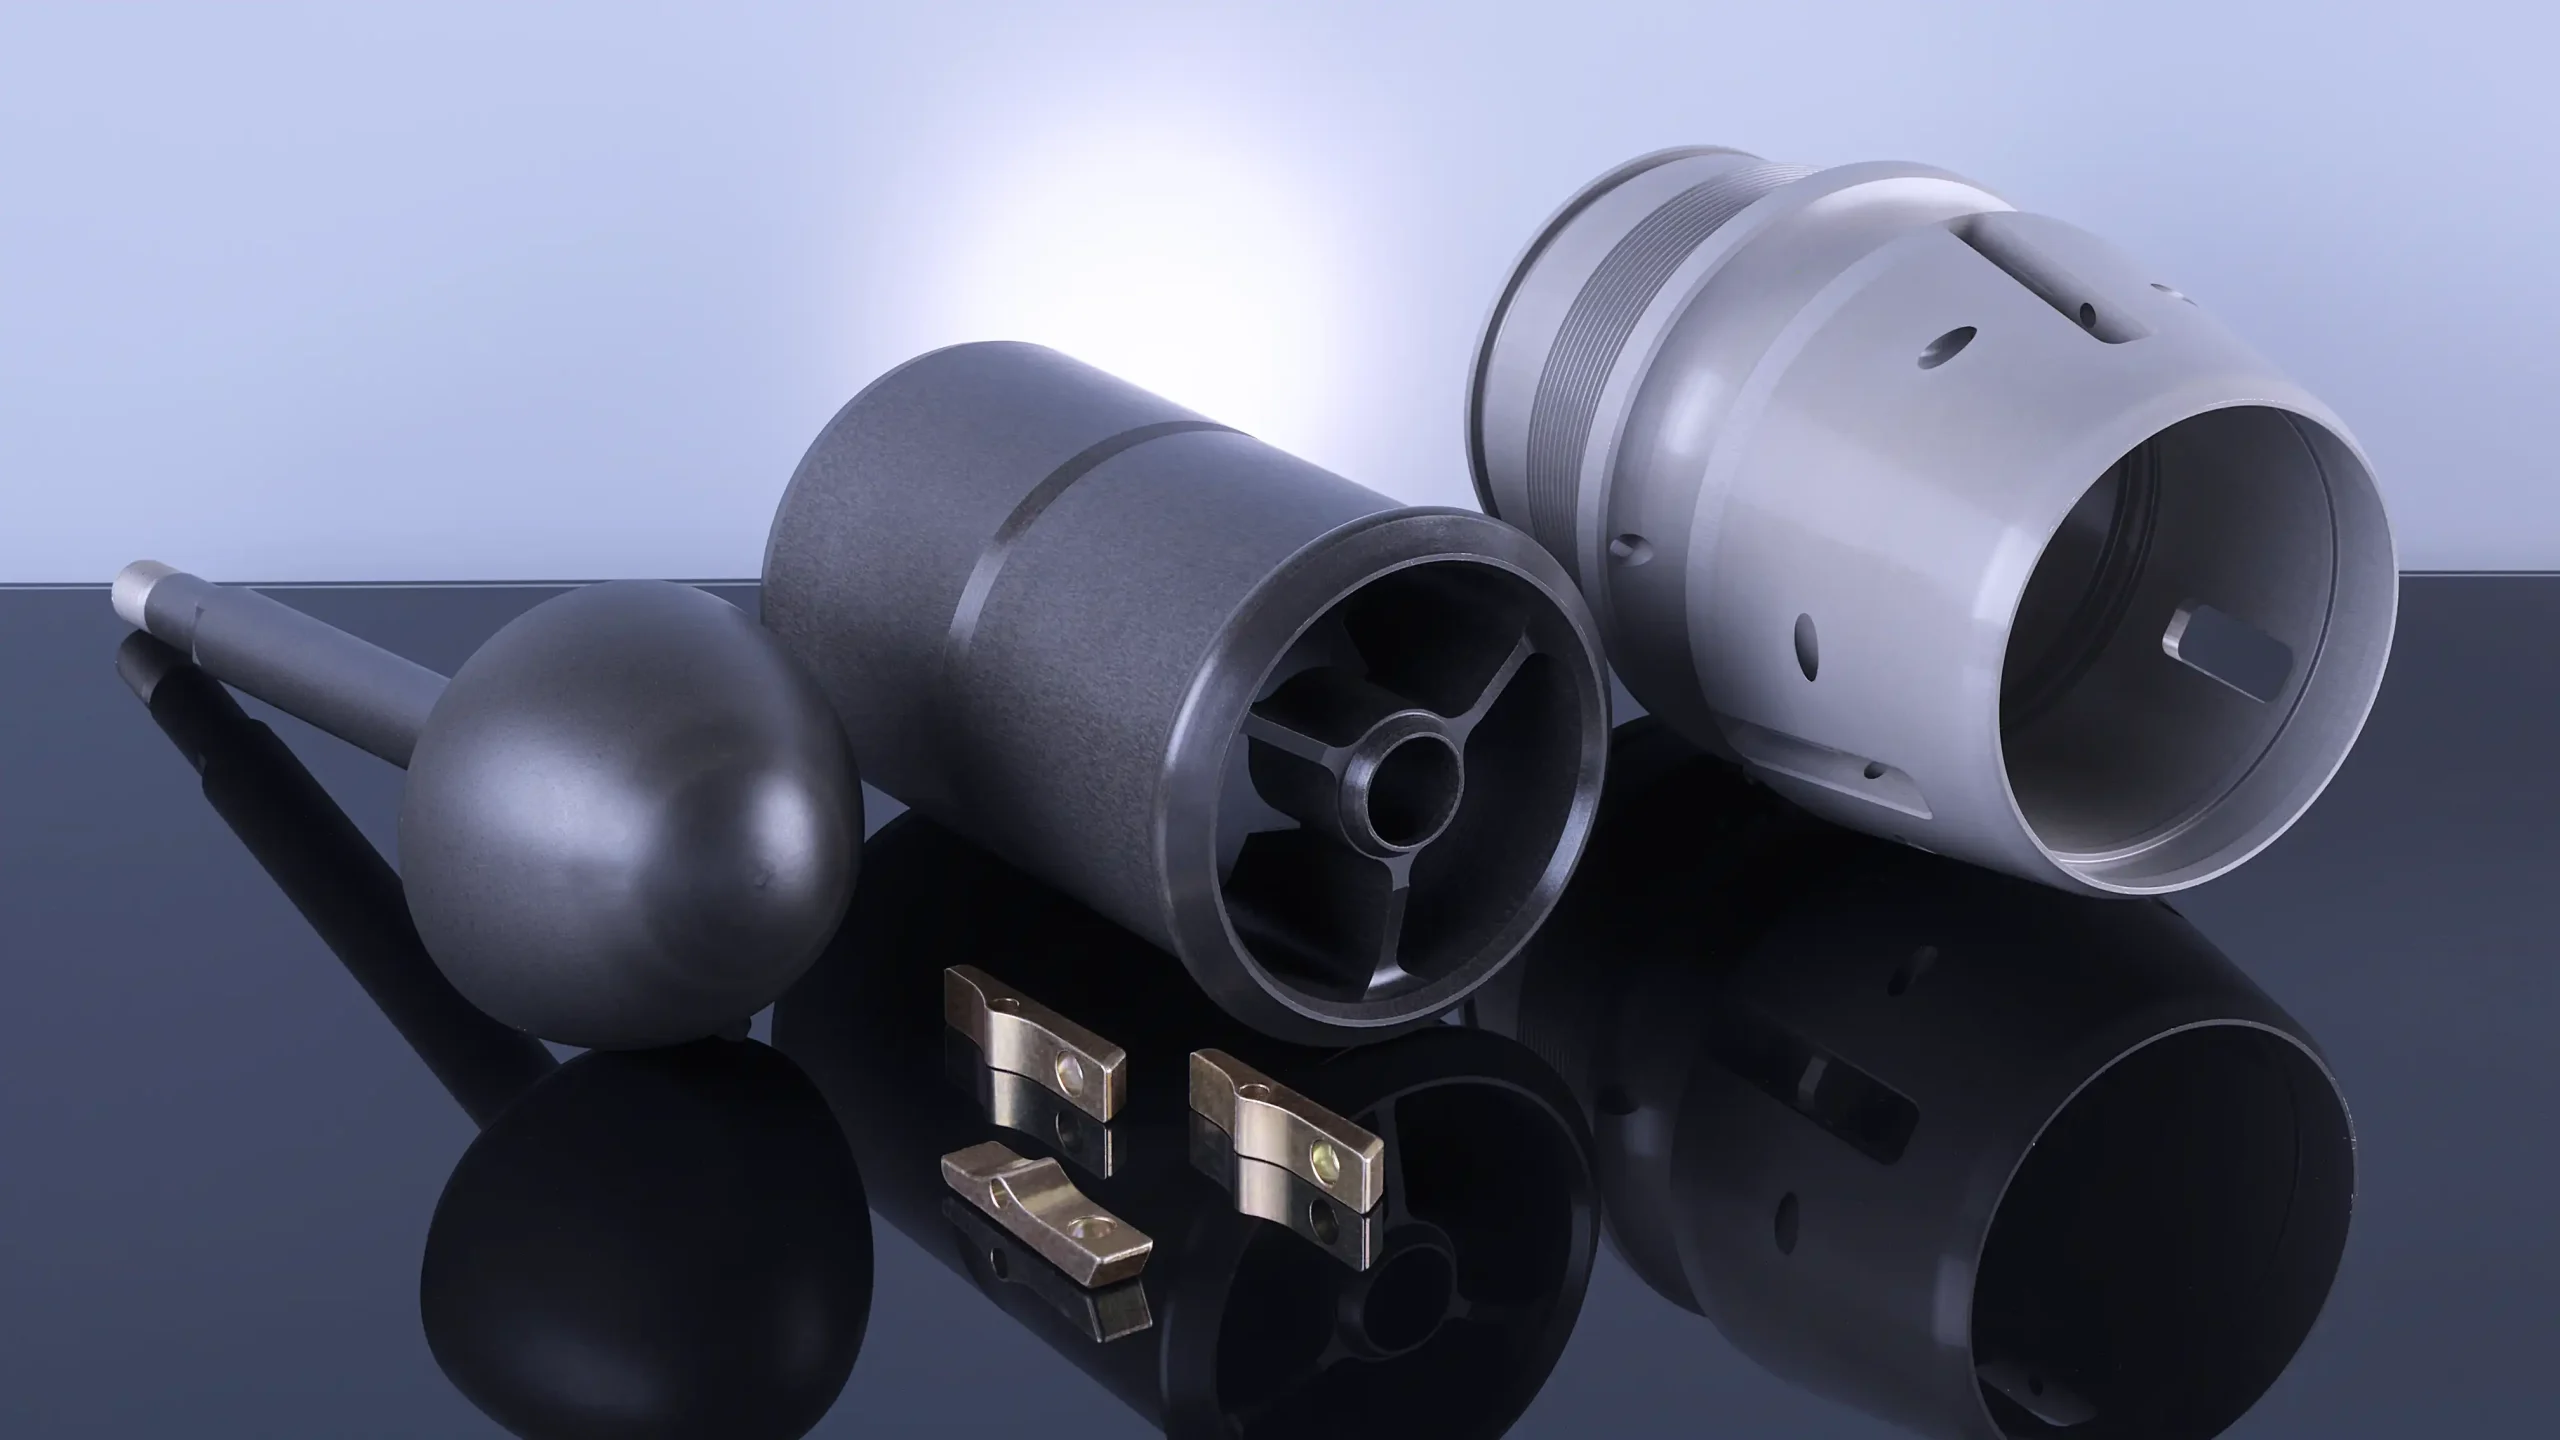
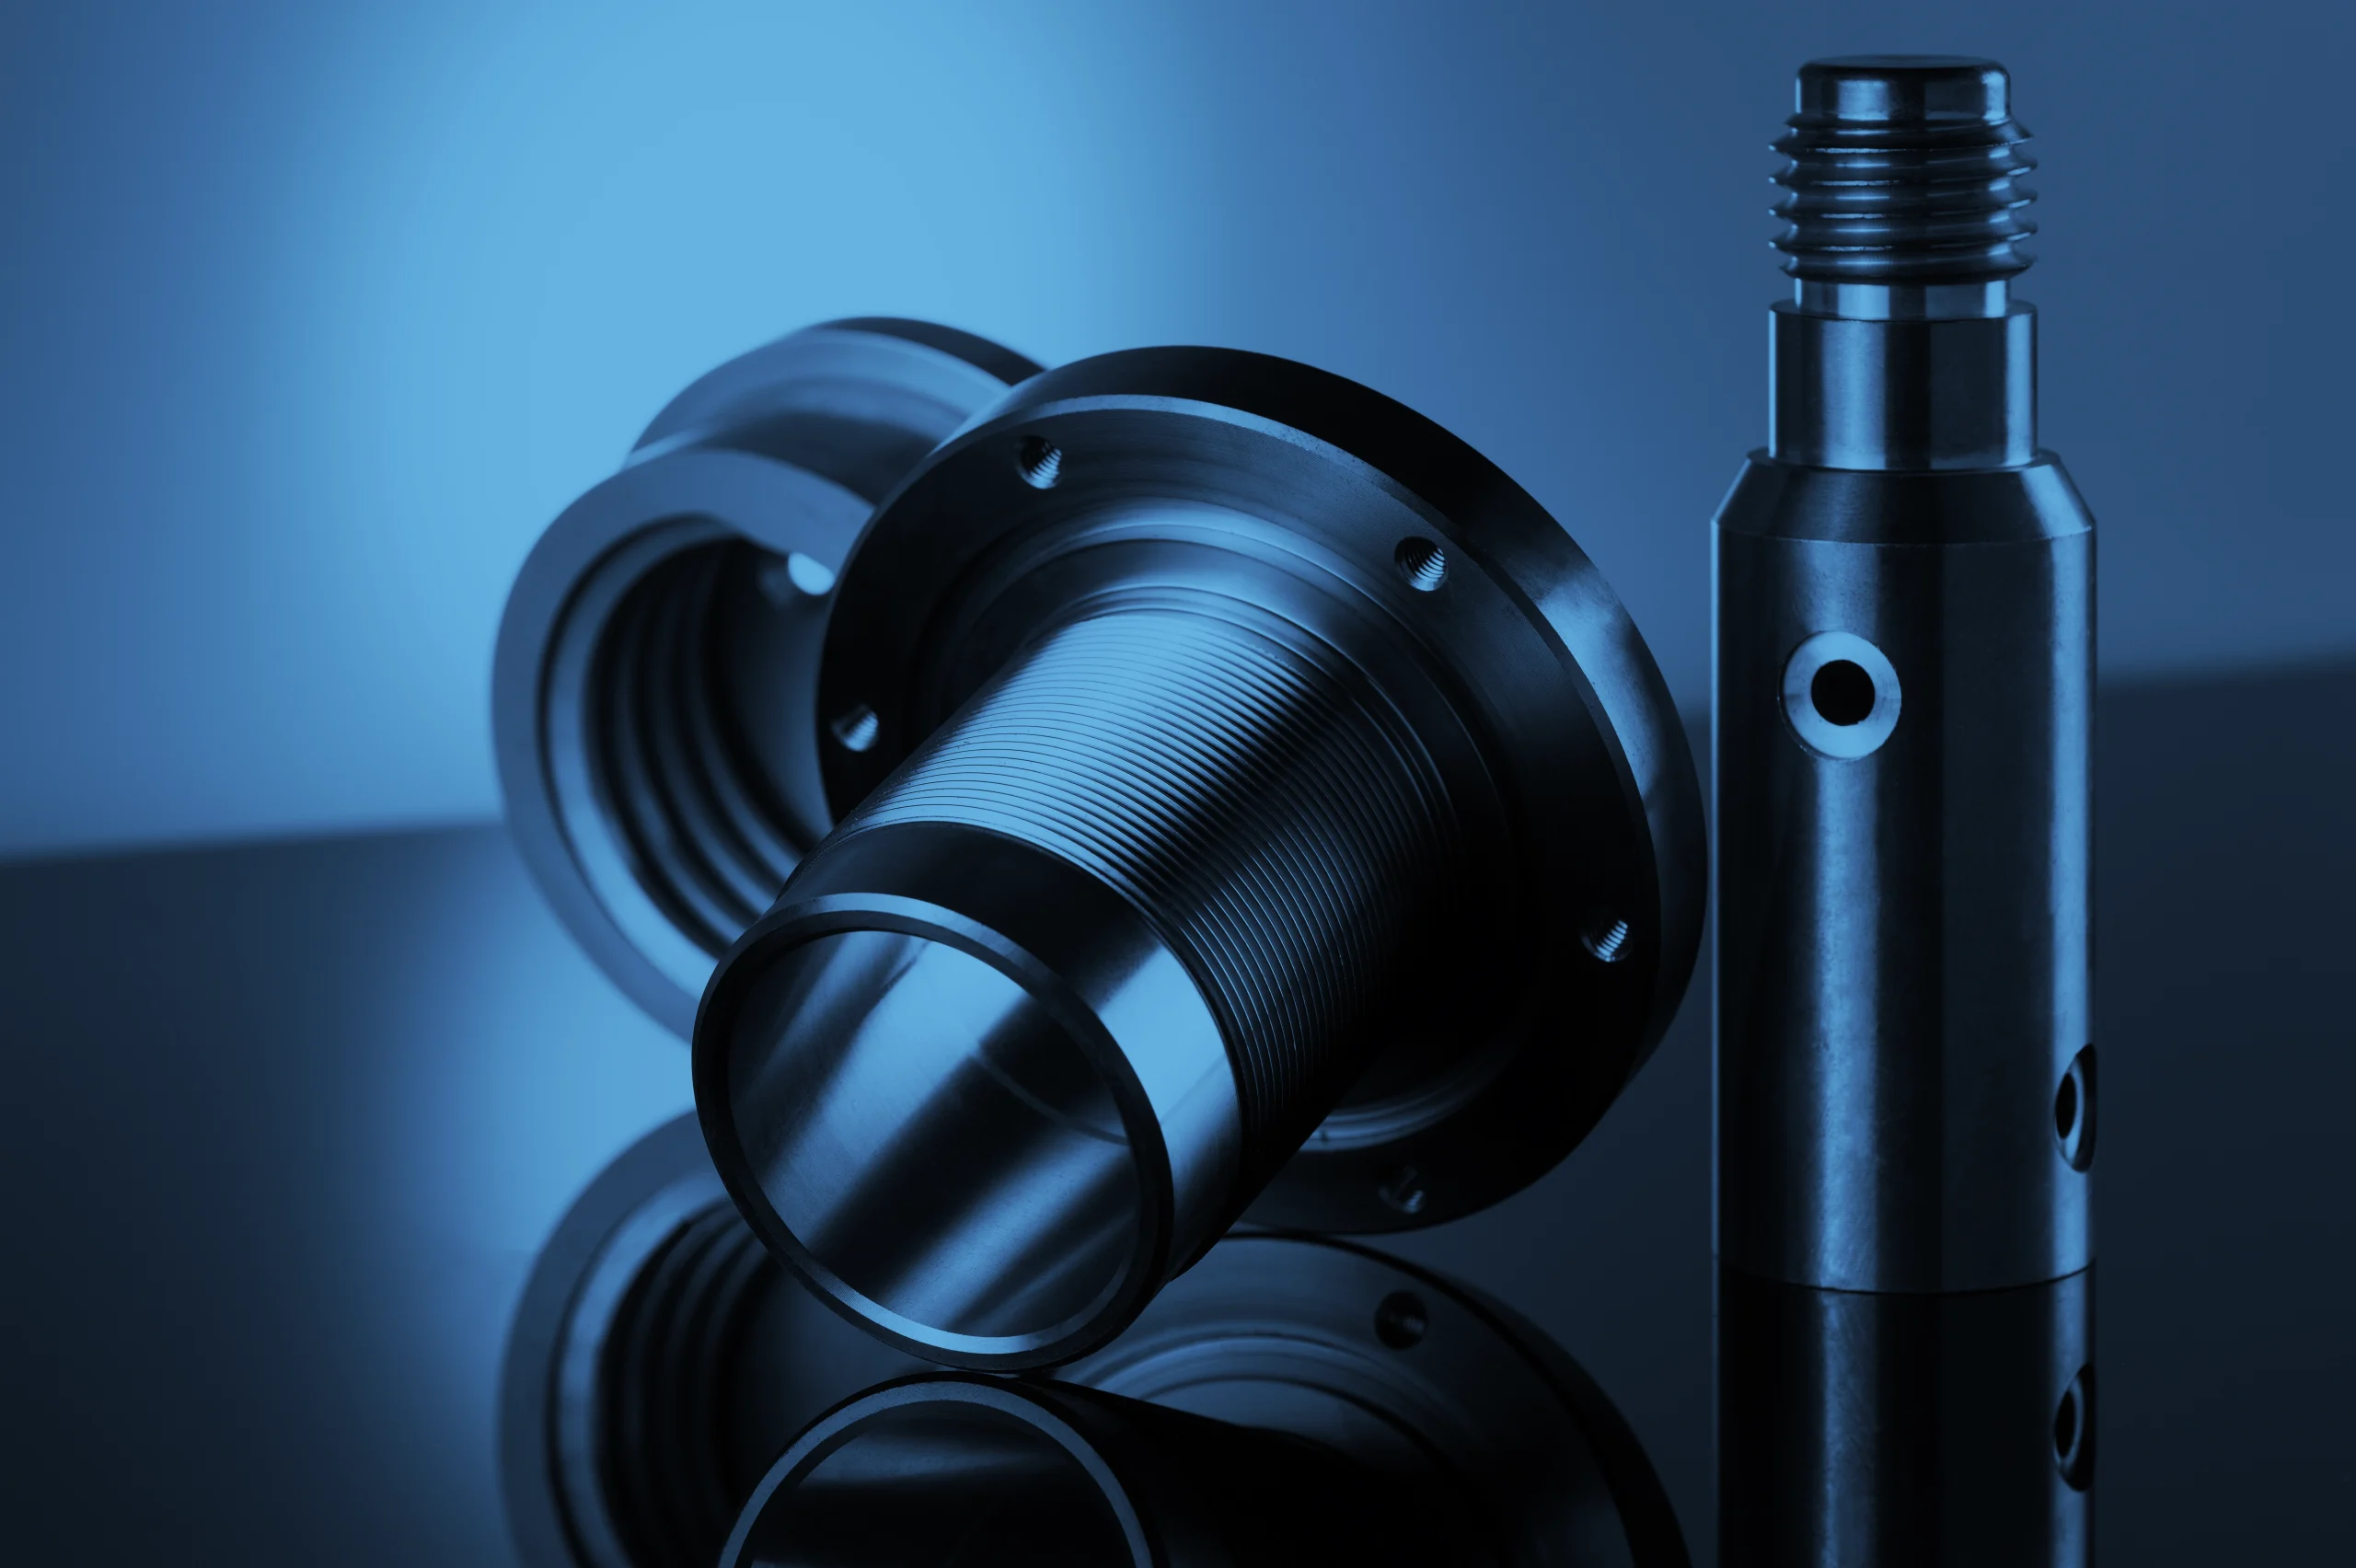
Specialists in general mechanics and precision turning since 1966, we produce all kinds of complex mechanical parts in cylindrical, conical, or other shapes, with threading, grooves, drilling, boring, etc. In addition to machining parts for internationally renowned brands, we ensure the assembly of subassemblies with extremely low tolerances that comply with particularly strict standards, as for the aeronautics sector, for example.
With the great flexibility of our infrastructure in small and medium series, in addition to the commitment, know-how, and experience of our employees, our goal is to produce ever more reliable and technically advanced products to meet the long-term expectations of our clients who are looking for a high-performing partner.
We have a wide range of services and skills that allow us to provide solutions adapted to each industry where precision, quality, and responsiveness are essential.
RAW MATERIAL
In bars
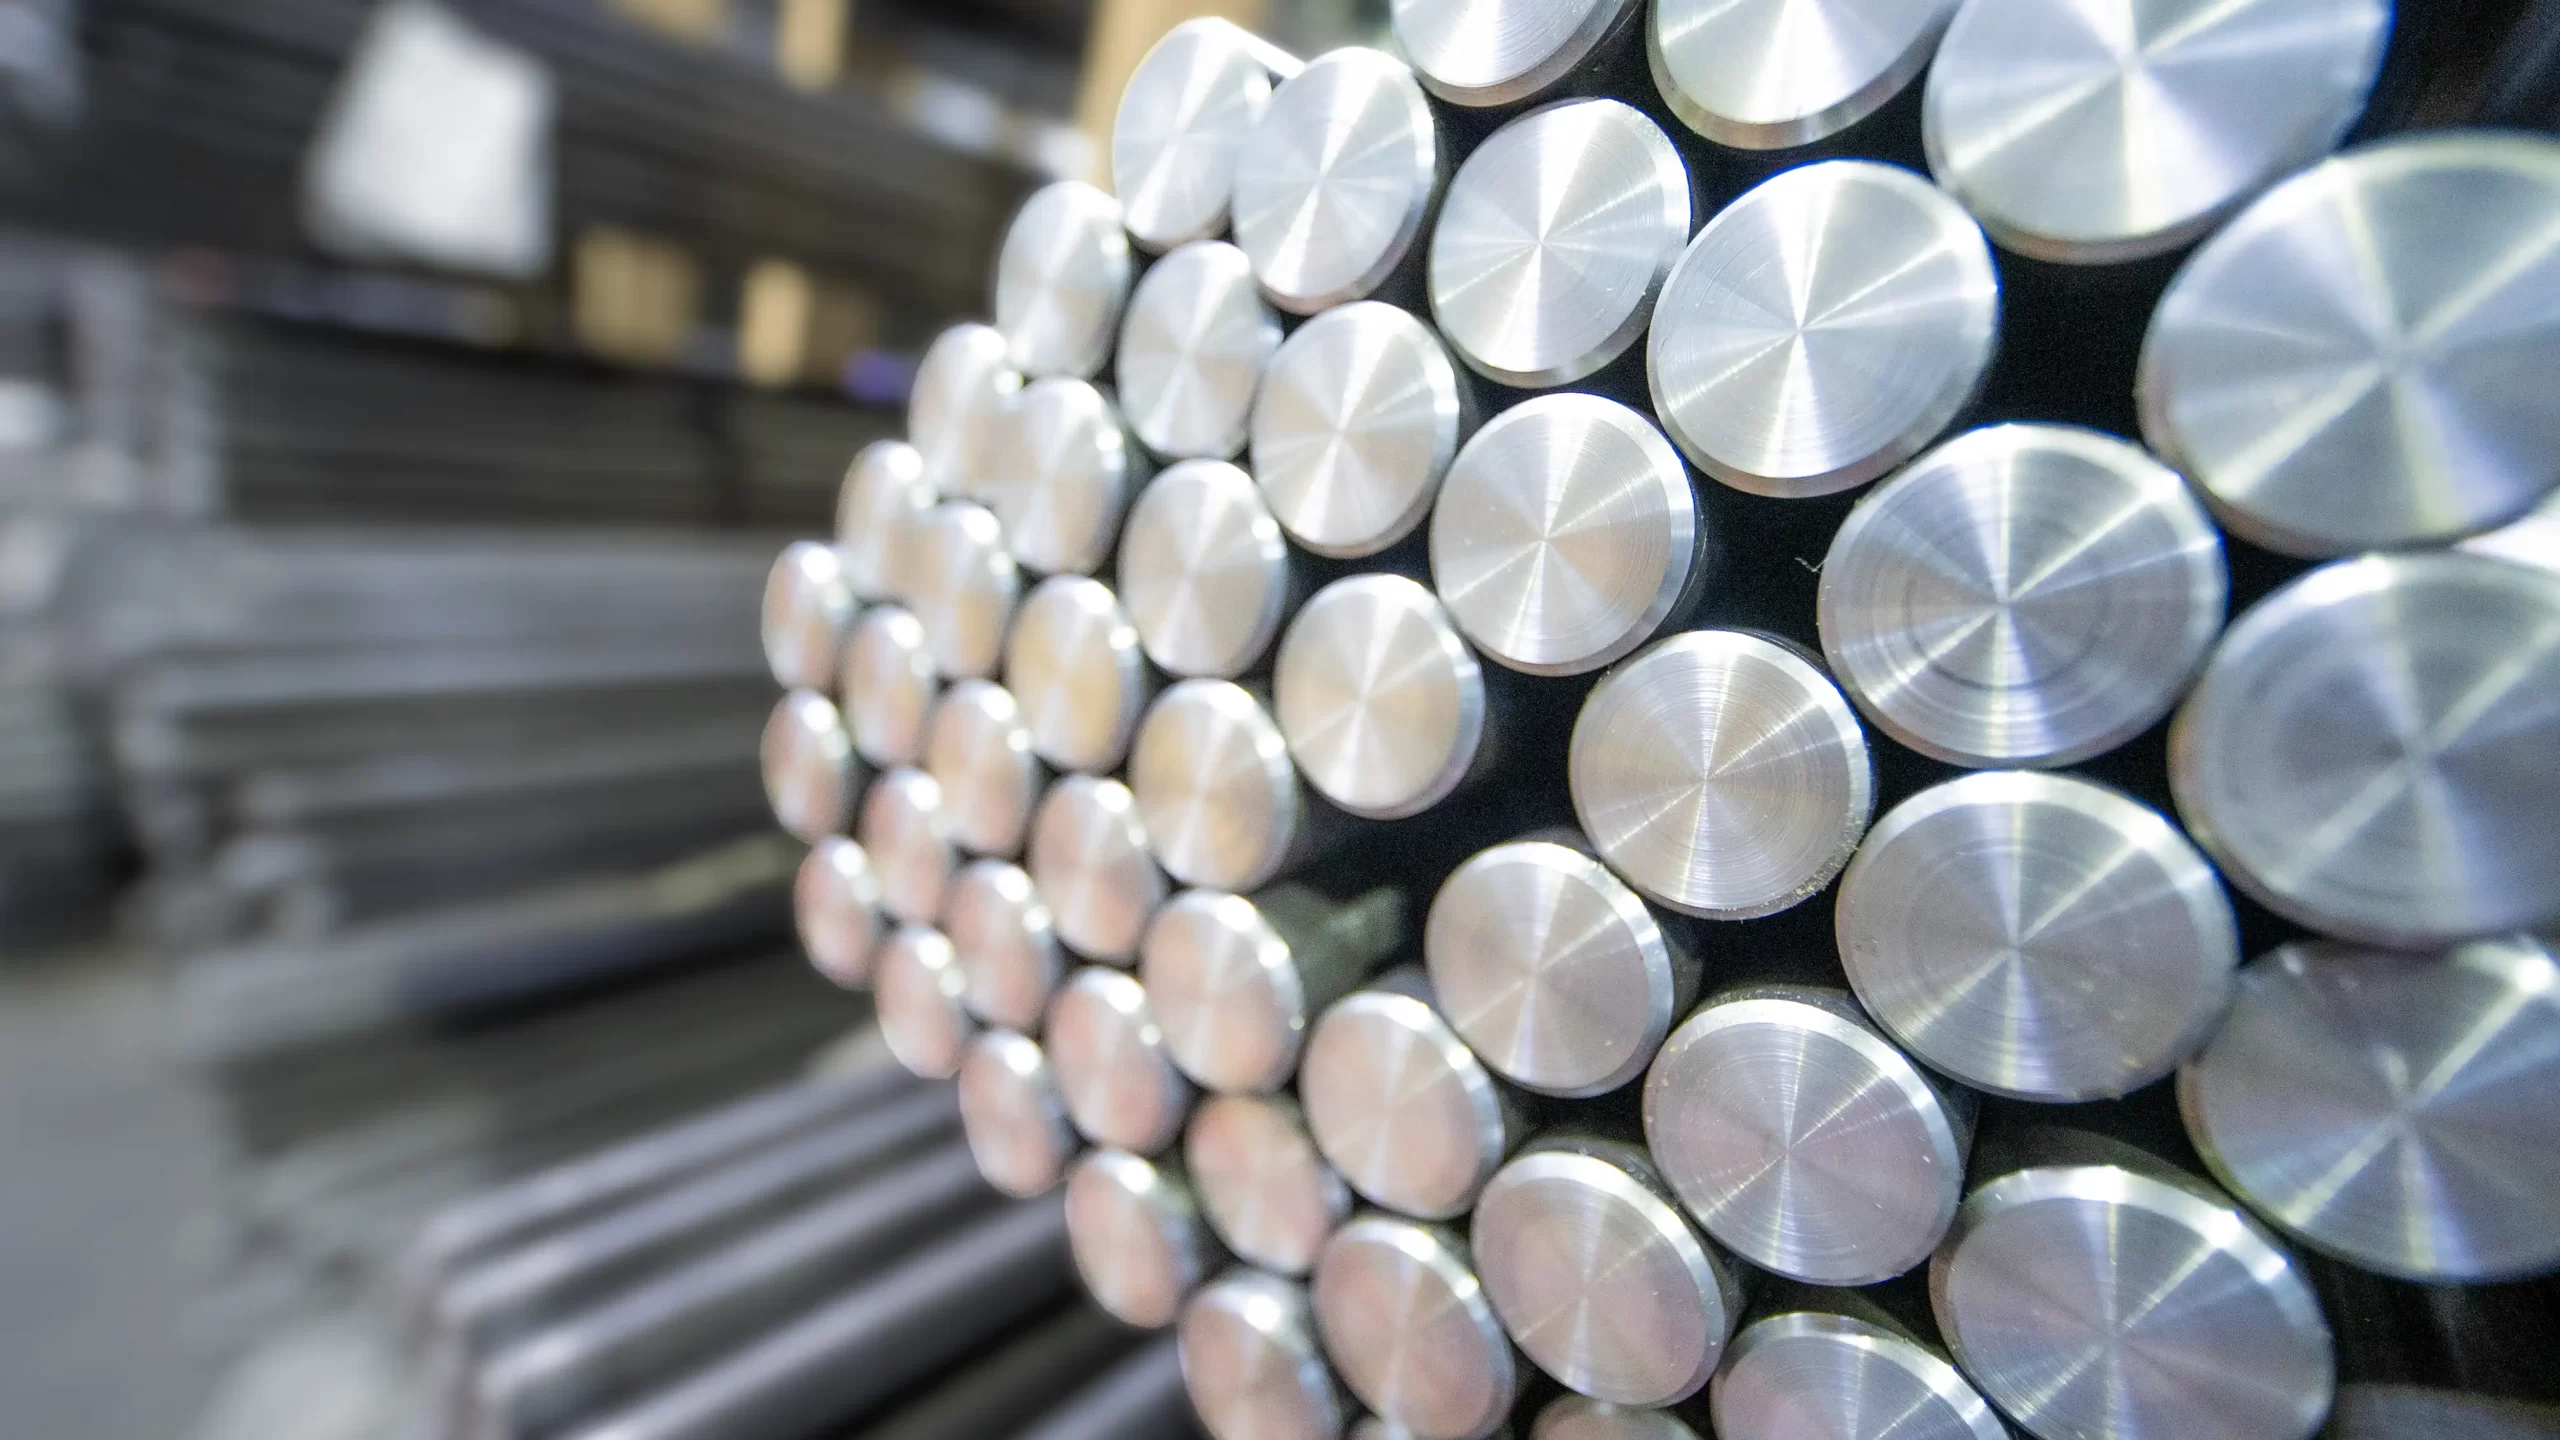
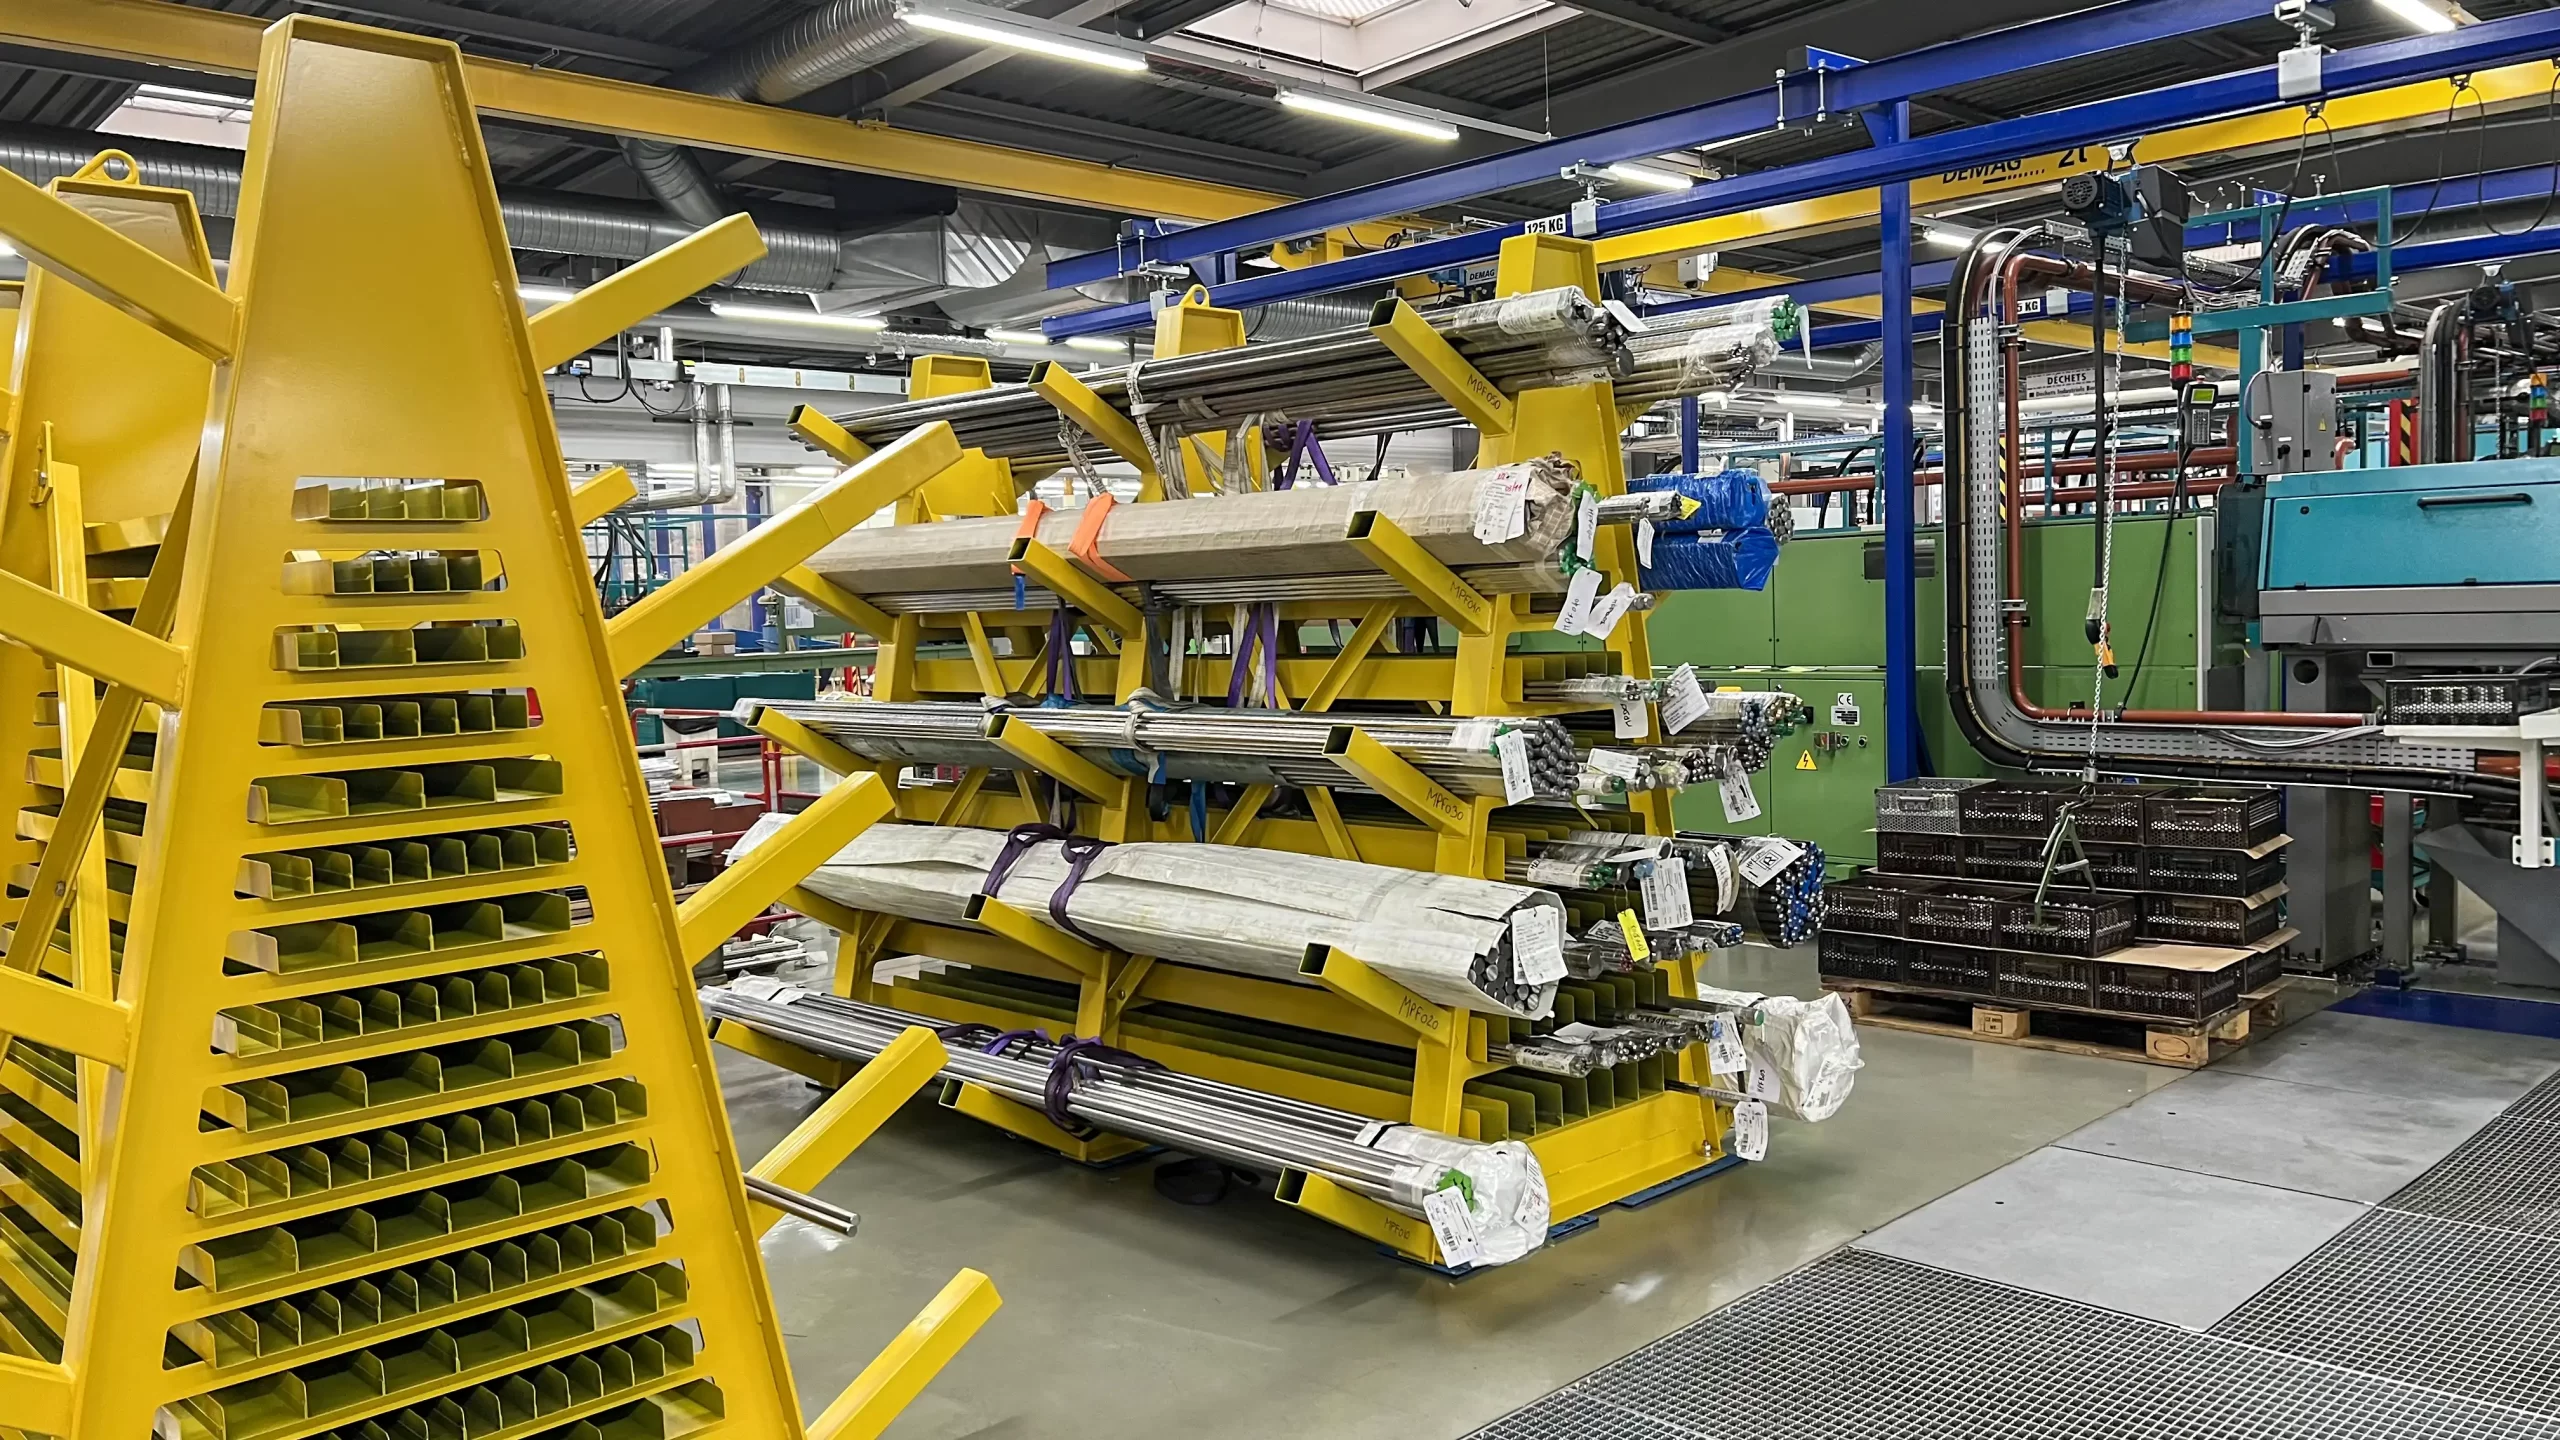
We generally work with bars from Ø2mm to Ø65mm, but also beyond in blanks up to 110mm in turning, and machining centers up to 250mm, in raw materials such as aluminum, steel, stainless steel, brass, bronze, inconel, or titanium.
In blank
We use all these materials because they have characteristics suited to the needs of our various business sectors and the requirements of our clients.
OUR SPECIAL PROCESSES, SUPERFINISHING THAT GIVES CHARACTER TO THE PARTS
In our production tool, surface treatment operates on two characters: the shape of the final surface obtained and the surface condition, which corresponds to its roughness and texture.
Superfinishing uses abrasive bands that move over the part with low pressure and high speed to reduce the lines or striations left by previous operations, improve dimensional and geometric precision.
Honing is also a particularity that we master for parts with extremely precise tolerances or for complex and technical shapes.
Finally, we also perform all kinds of heat treatment to modify the properties of materials, especially metals, by subjecting them to temperature variations or chemical reactions. This allows obtaining greater surface hardness, increased wear resistance, and an optimized aesthetic appearance. Thermochemical treatments create hard and highly corrosion-resistant layers.
With our partners approved by our clients, we are also able to ensure all types of surface treatments which consist of depositing a layer of material on the surface of a part by physical or chemical means, such as anodizing (OAS-OAD-OAC), for example.
We use these principles to guarantee greater reliability and longer lifespan to the parts we deliver to clients who want these special processes.
CONTINUOUS CONTROL
Quality control is not limited to the end of the production line, but takes place throughout the manufacturing process, as quality is DURANDARD's priority.
It starts with analyzing the part to be produced in R&D to identify critical aspects of the product and, if necessary, adapting the control plan accordingly. Permanent control during the process and final control at the exit allow us to guarantee product conformity. With our expertise and experience, we ensure that products meet the requirements of various sectors related to current standards.
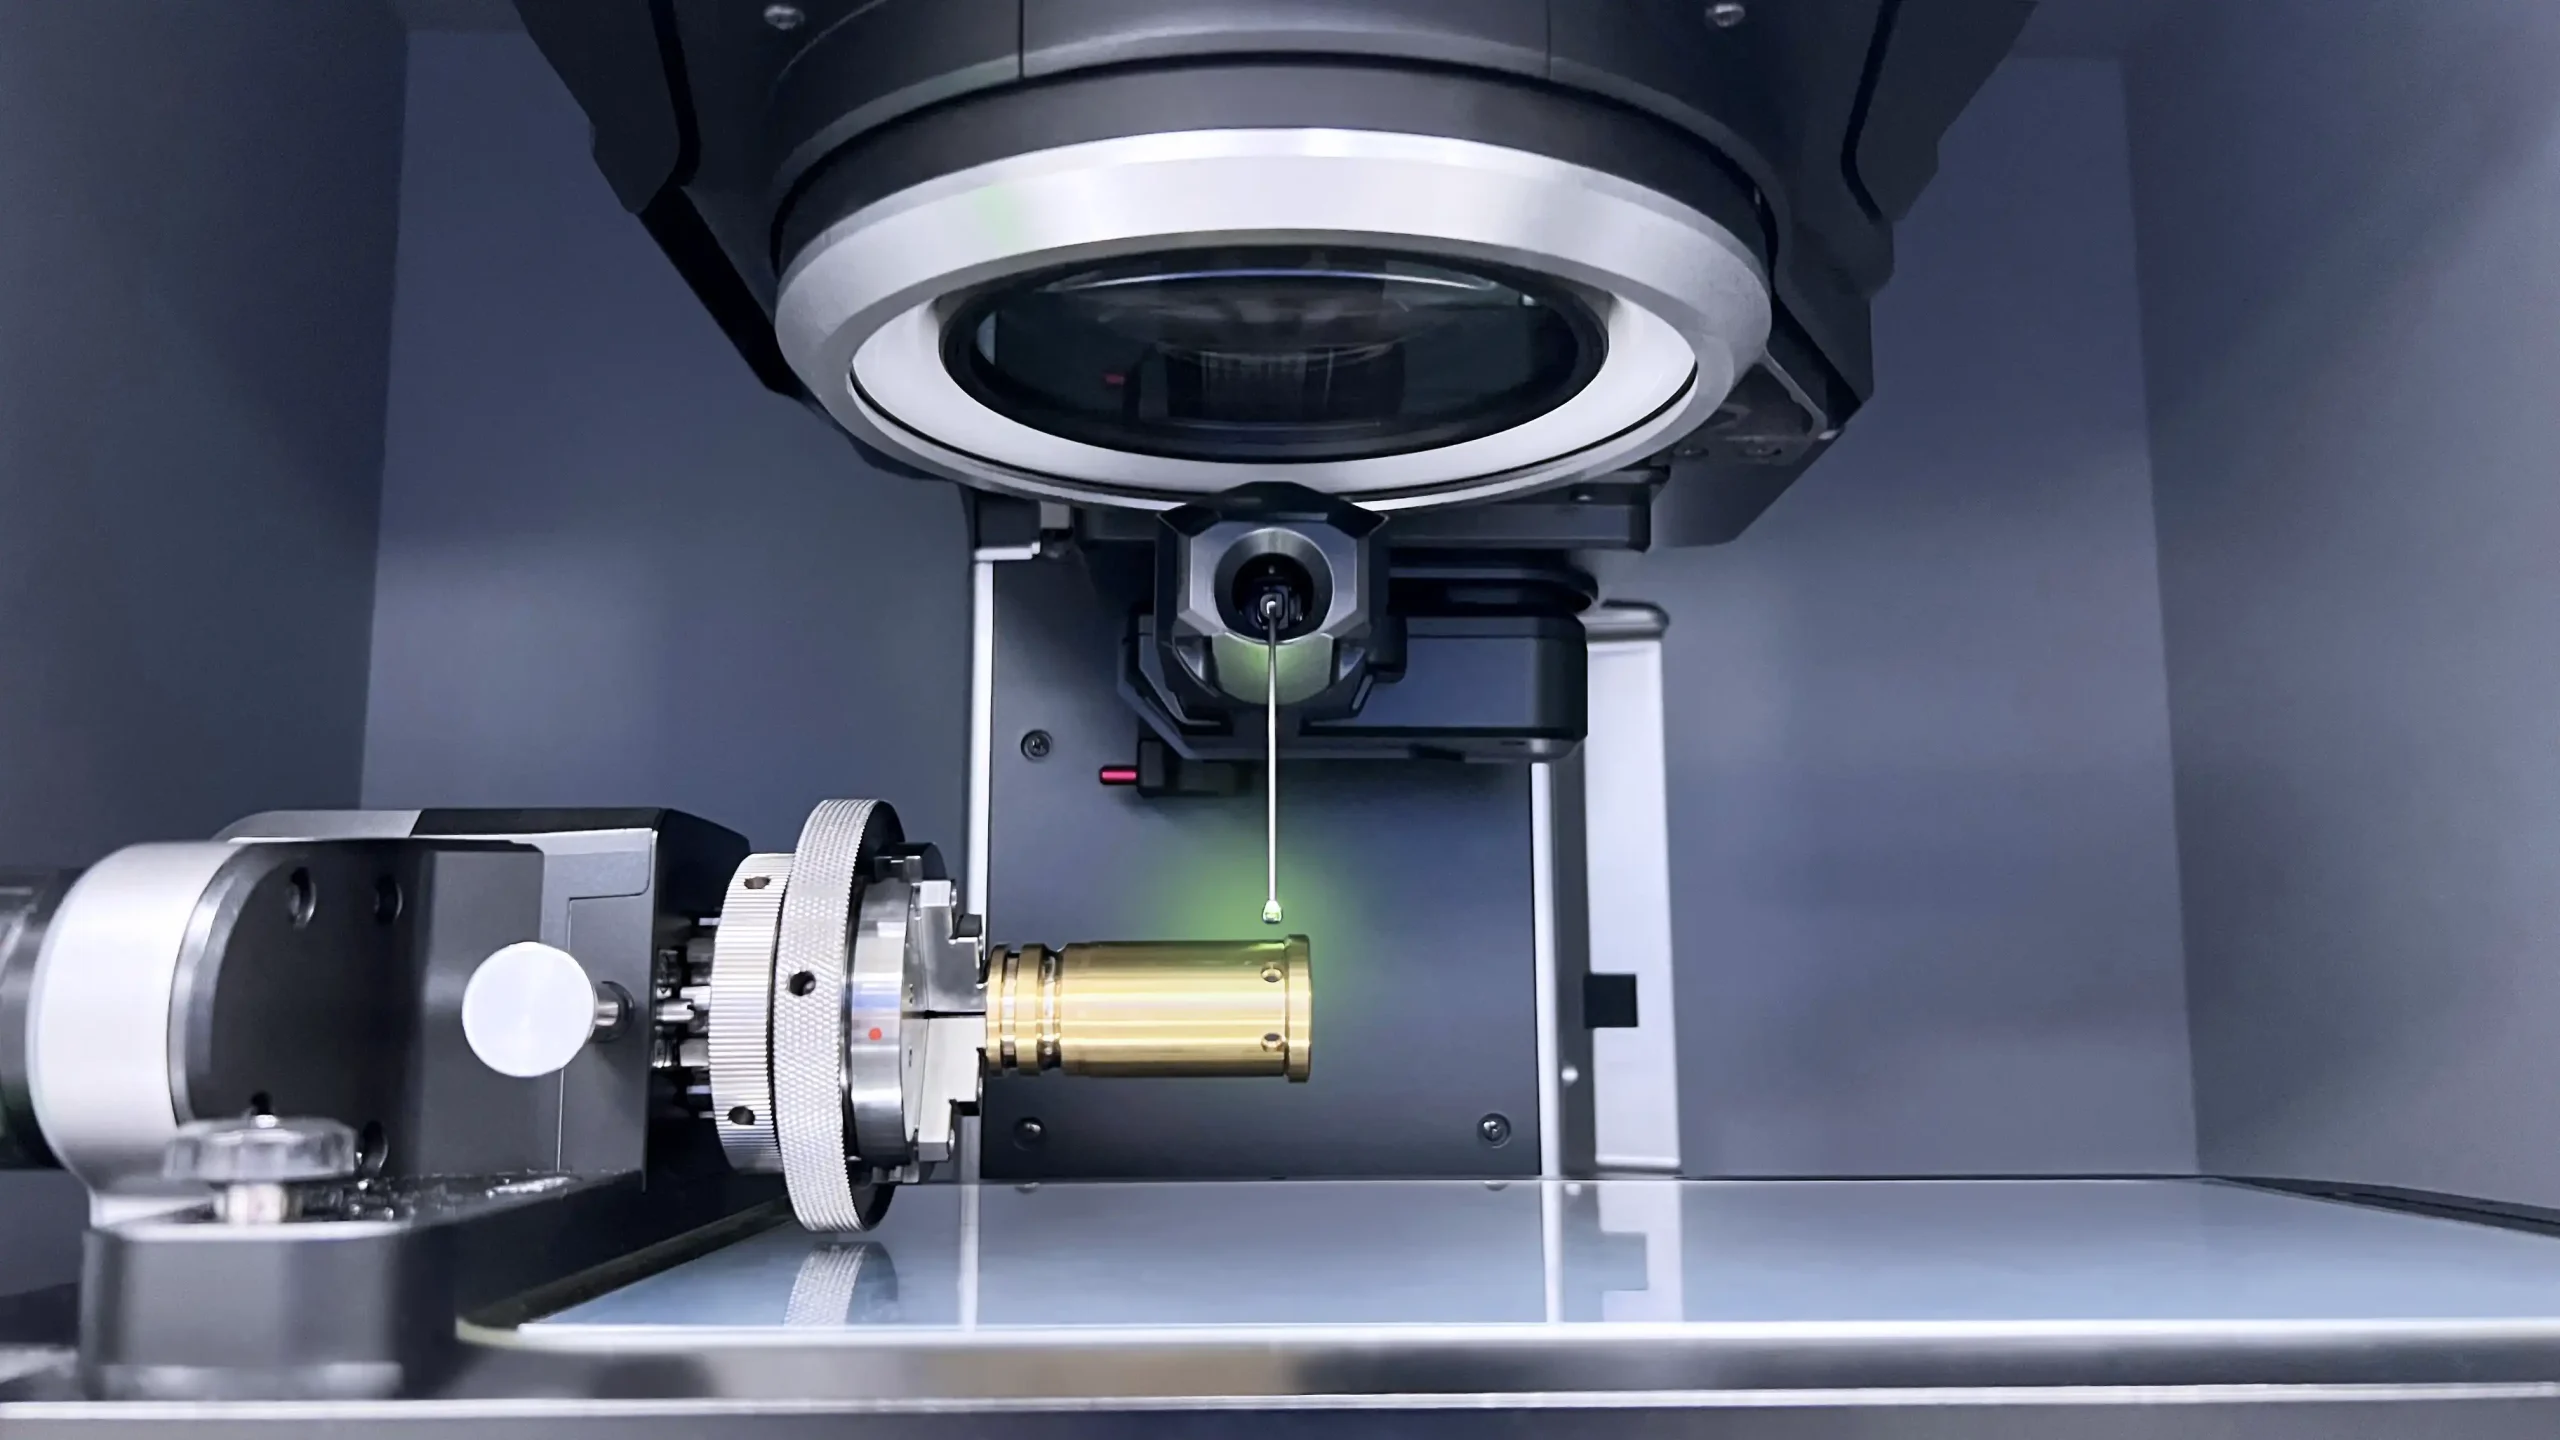
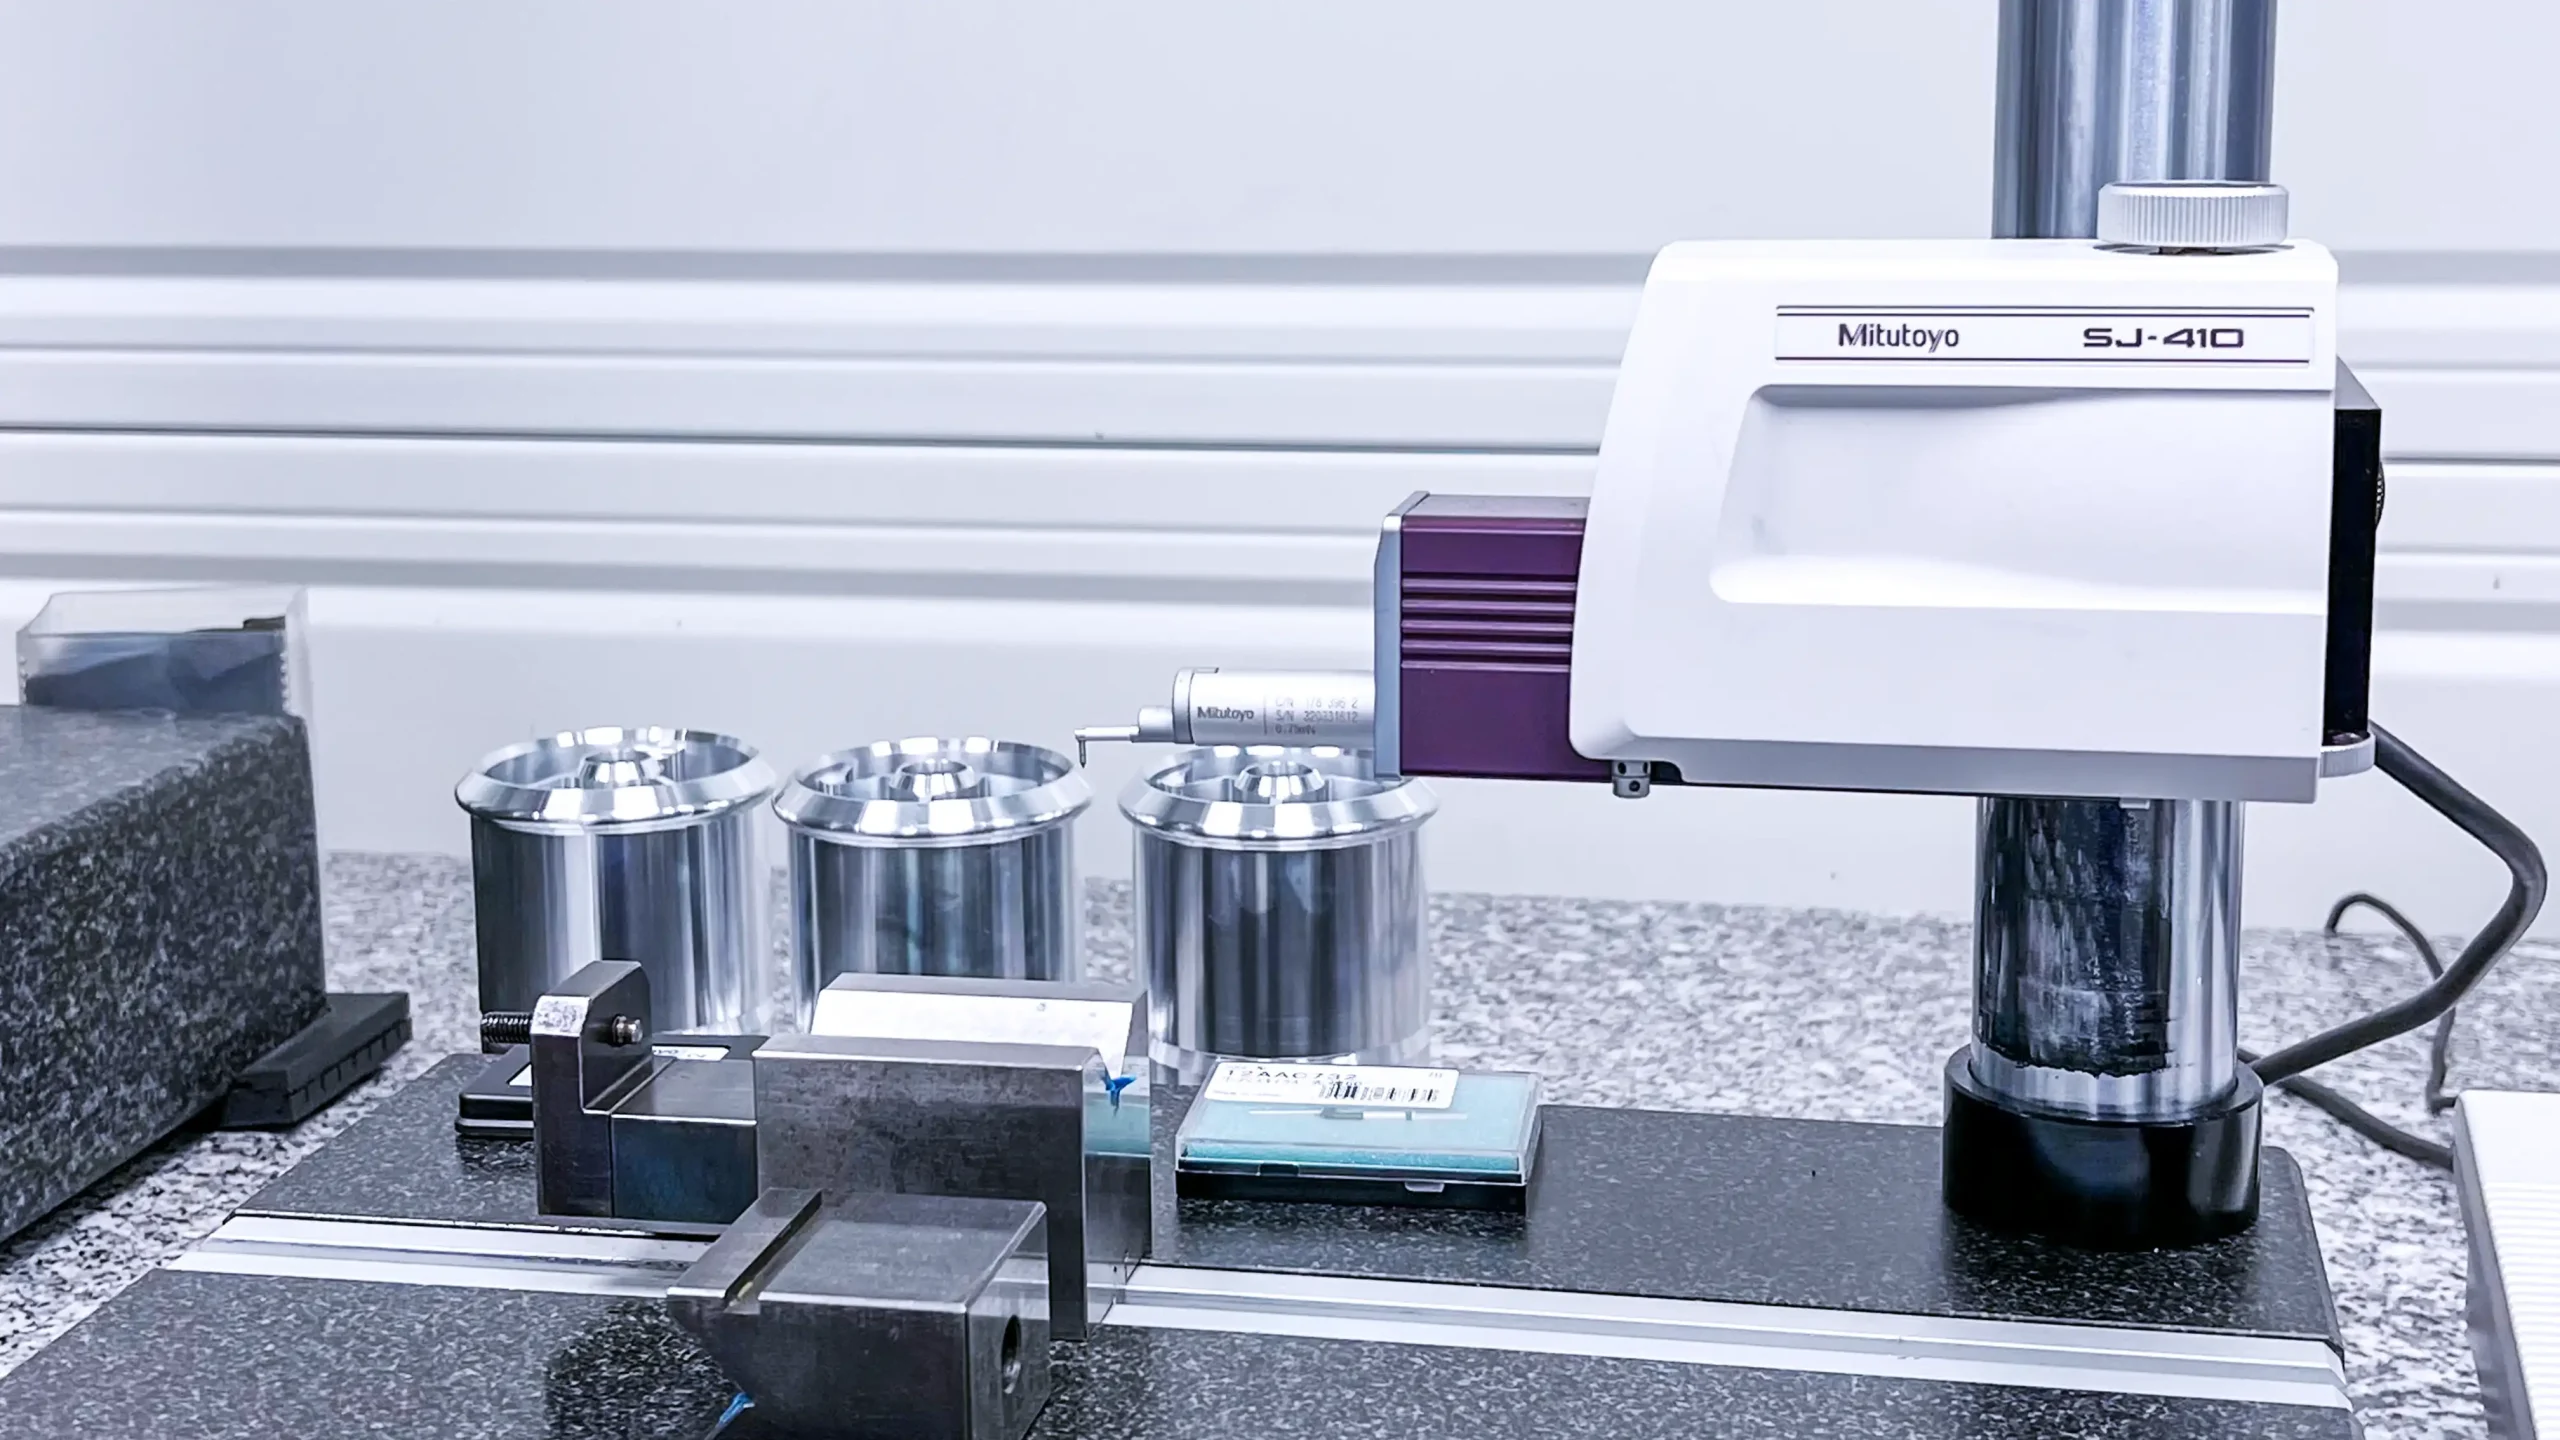
Our quality control office uses various measurement tools such as a contourgraph that will scan the part and draw its profiles with precision, measuring column, roughness meter to analyze surface conditions, 2D and 3D cameras with their digital optical sensors, profile projector with shadow system, and traditional means such as a roller bench precise to the micron. All these tools allow precise measurements, their interpretation, and ensuring their accuracy.
Production
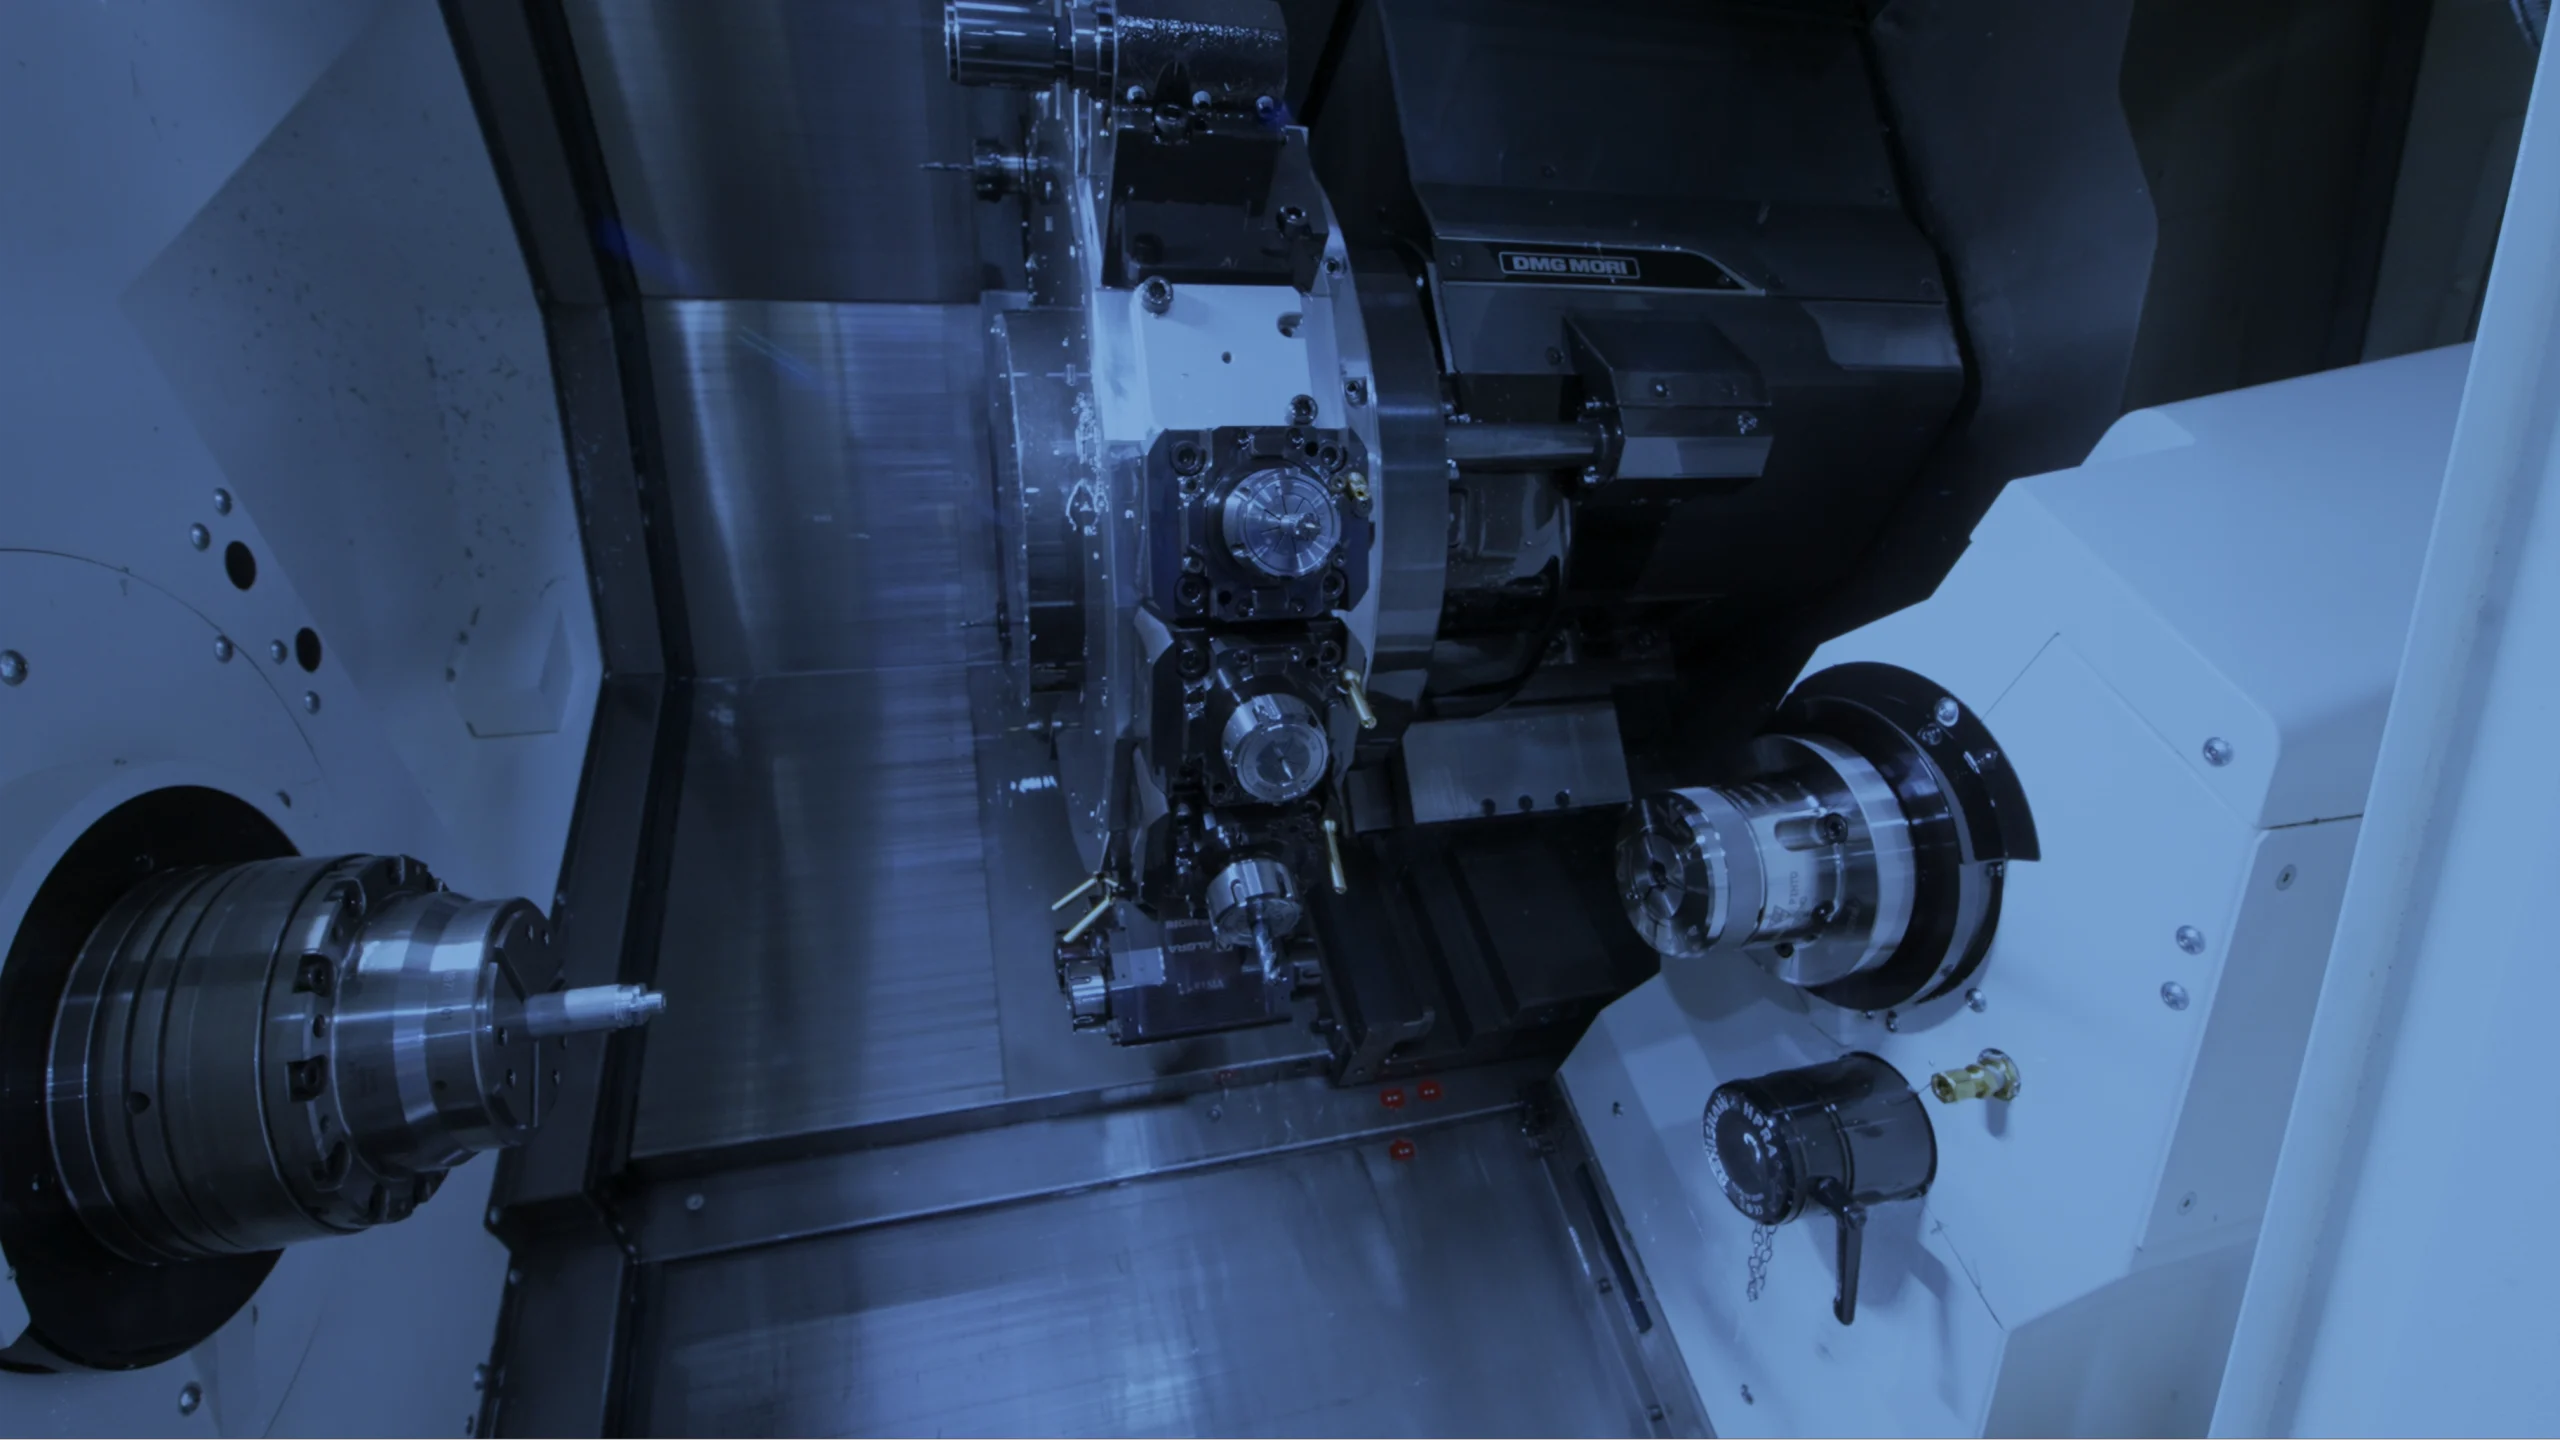
We are able to produce in small and medium series, according to the needs of our clients, with controlled speed and quality throughout the value chain. We also master the mechanical part with our 3 DMG MORI twin-spindle and 5-axis machine tools, which allow us to perform machining operations on complex parts in turning and milling, for example. These machines offer us greater flexibility and adaptability for very small series.
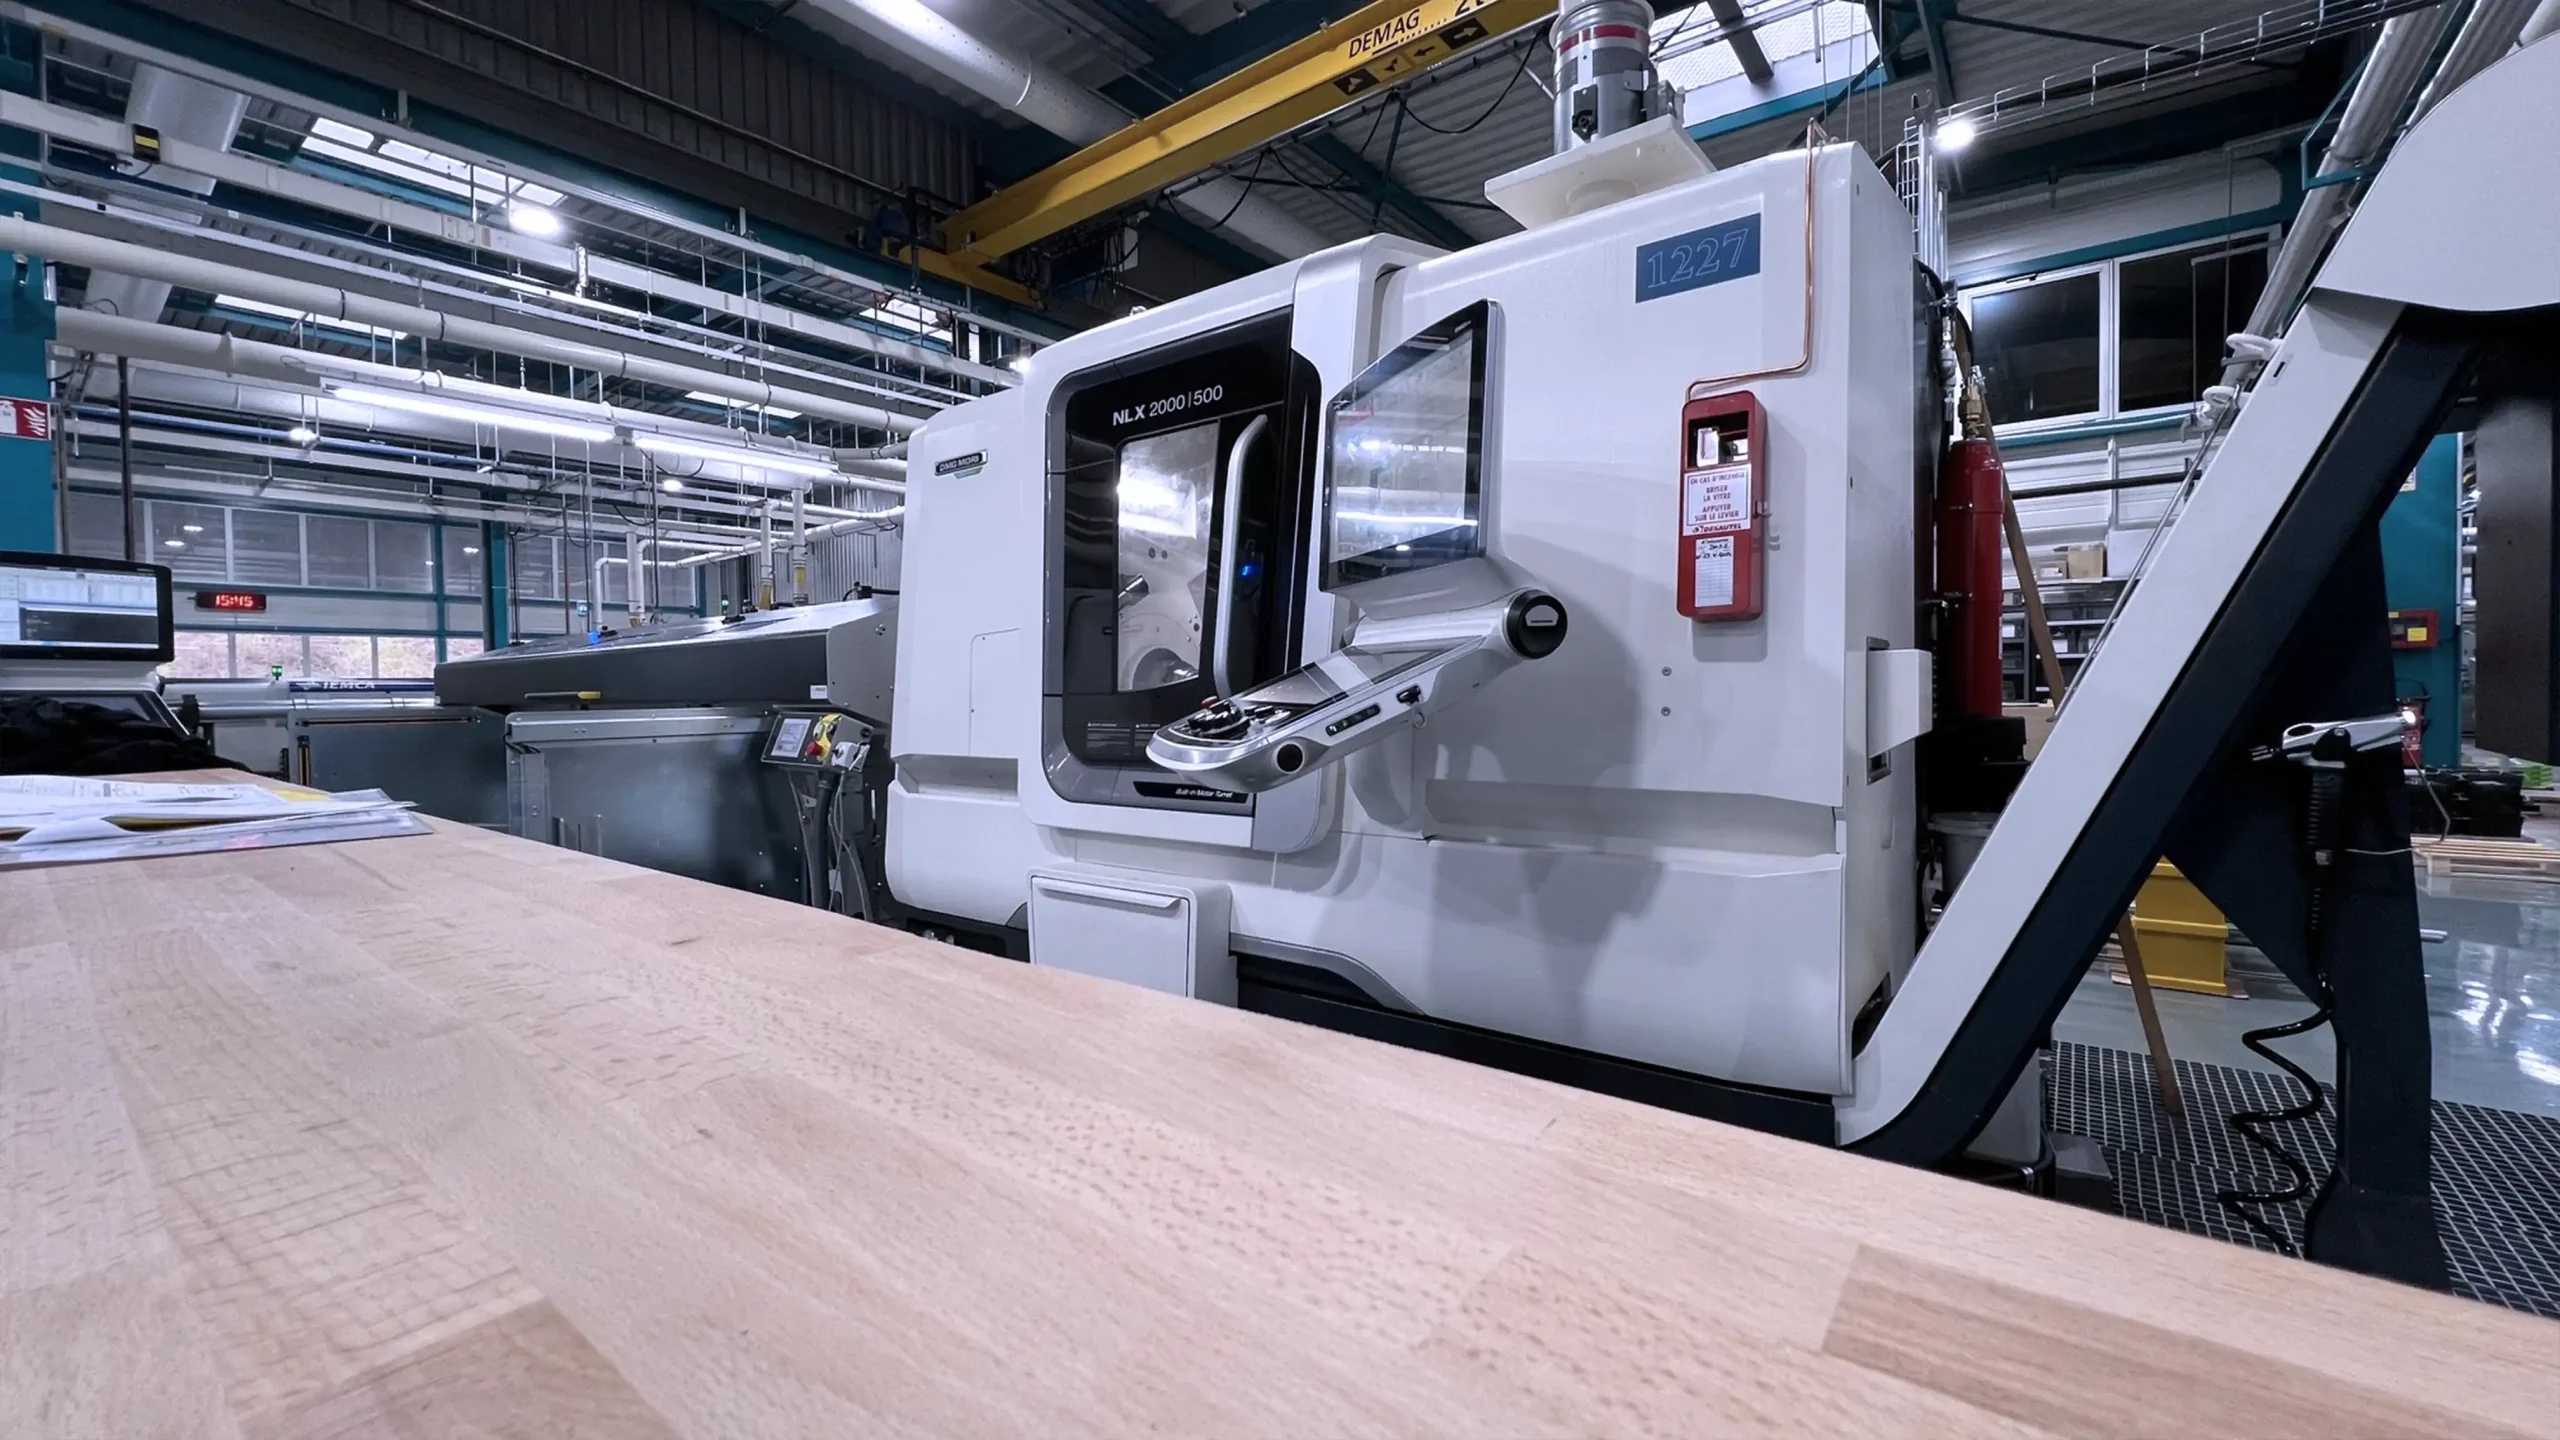
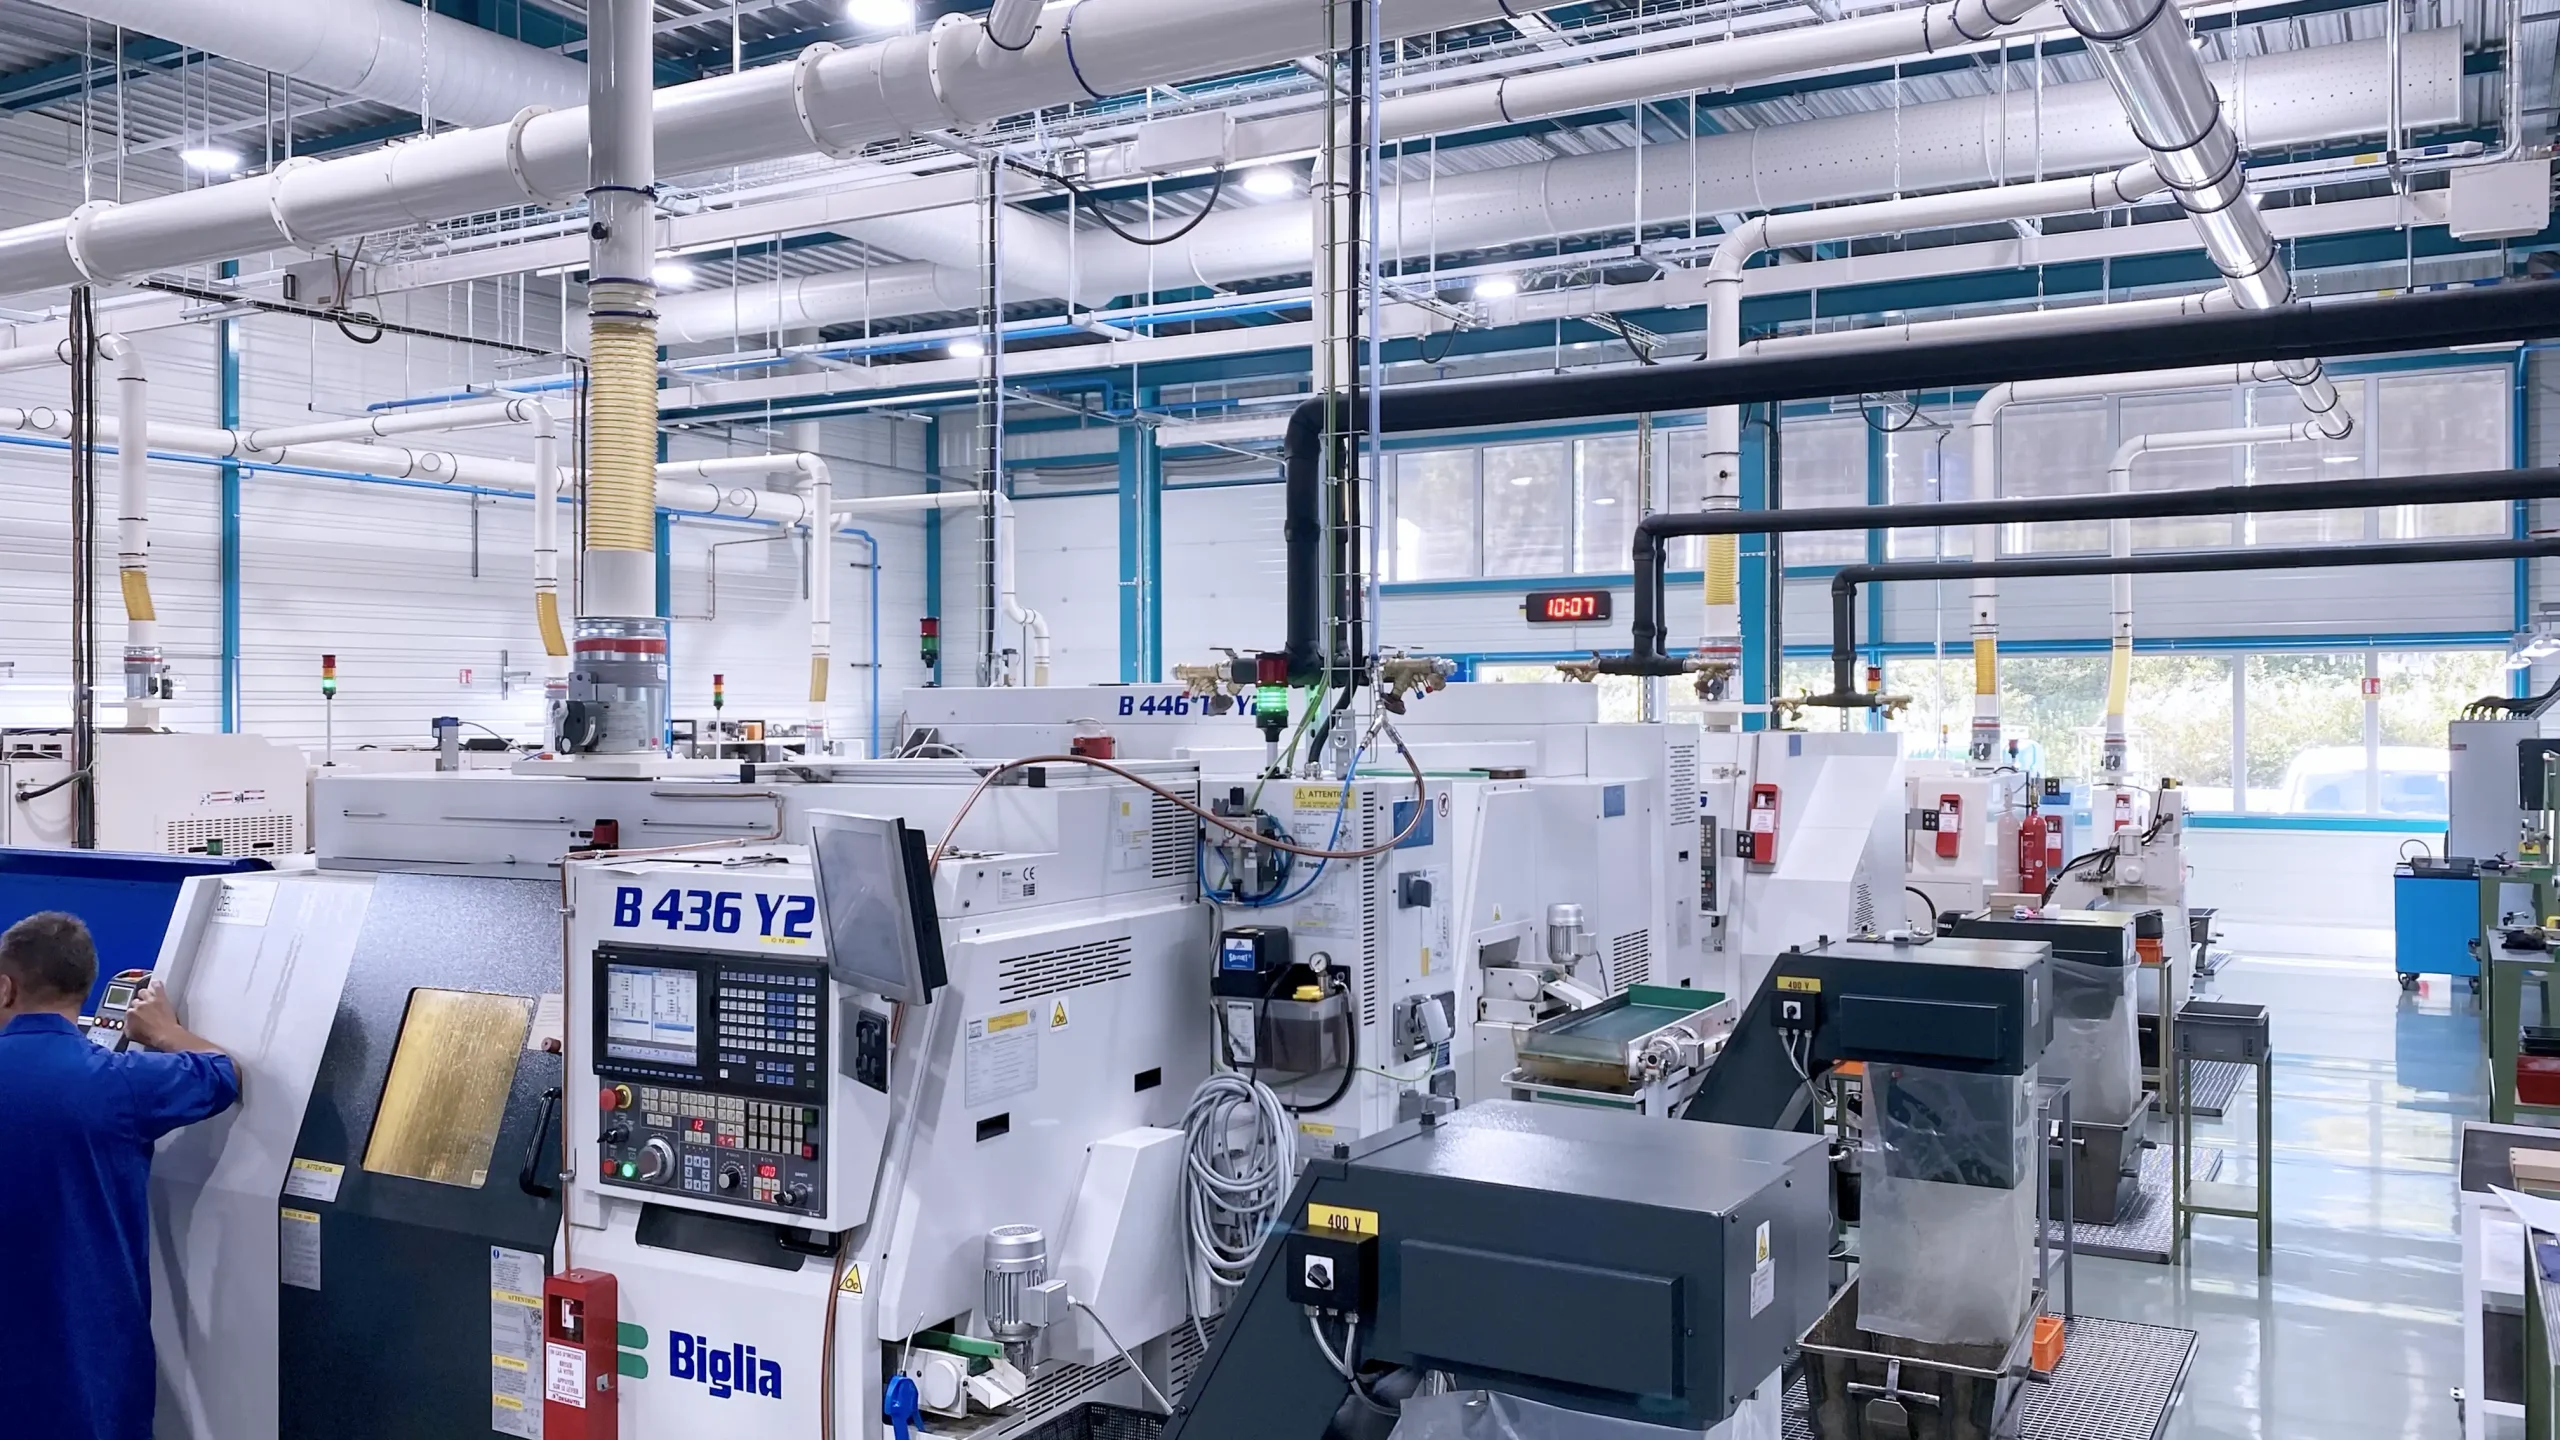
Our constantly evolving and latest-generation machine park includes 12 CNC automatic lathes from BIGLIA, TRAUB, and MIYANO, which allow us to machine parts from bars ranging from Ø2 to Ø65mm or blanks up to Ø110mm. We also have secondary operation machines to carry out our finishing or additional high-precision machining operations.
If needed, the Group we belong to can ensure large series production with its specific equipment, according to our plans and criteria.
Some skills complement our machining trade, notably with our pneumatic Automator press which can perform industrial impact marking operations on various surfaces and materials. It can mark various information, such as serial numbers or logos on metal parts of all shapes and sizes.
It's a versatile device that perfectly adapts to the request of some of our loyal clients. Laser marking is another possible option to engrave, for example, data matrix or consecutive numbers. Our hydraulic presses offer possibilities for broaching, stamping, or crimping for all types of parts.
DURANDARD
900, avenue de Pontchy
F-74130 Bonneville
☎︎ : +33 (0)4 50 97 03 09
CERTIFICATIONS
ISO 9001:2015
ISO 9100:2018 in progress
© Durandard 2024 - Mentions Légales – Politique de Protection des Données – Politique des Cookies - Réalisation BurtProd

